Few other flooring types can boast the level of versatility, resilience, and elegance that real wood flooring offers. But when it comes to choosing the right kind for your home or business, where do you begin? There are a number of ways to achieve the ‘effect’ of real wood, some of which can be quite convincing – especially laminate flooring, which is printed with high-definition wood grain – but when it comes to real wood, there are only two types of flooring worth your consideration. ‘Engineered’ wood flooring and ‘solid’ wood flooring. But what is the difference? And which one should you choose as a final contender for your new flooring project? We will answer these questions and more in this comparative guide. First, we need to define what each flooring type actually is.

What Is Solid Wood Flooring?
Solid wood flooring, or ‘hardwood’ flooring, is what springs to most minds when thinking about real wood floors. They are simply thick cuts of timber, most commonly oak, that are arranged in various ways and either slotted into each other with tongue and groove fittings or, in older properties, nailed directly into the underfloor. Solid wood flooring comes in a variety of styles and widths, from simple planks to more o ate, parquet arrangements.
What Is Engineered Wood Flooring?
The term engineered wood often makes people think of fake wood or wood replicas such as with laminate flooring. But engineered wood floors are made entirely of real wood, just as solid wood flooring is. The only difference is, the hardwood timber is laid over a layered, plywood base. The hardwood timber is cut much thinner than that of solid wood boards, with the rest of the breadth made up by its plywood layers. This technique allows for floors that look identical to entirely solid wood variations, with all the same designs, but with a few extra benefits which we will explore in more detail.
Engineered VS Solid Wood Flooring: What Is the Difference?
Though both engineered and solid wood flooring is extremely similar, there are some key differences that set the two apart. To help you make your decision, we have broken down several aspects and provided comparative information on each. Starting with:
Appearance
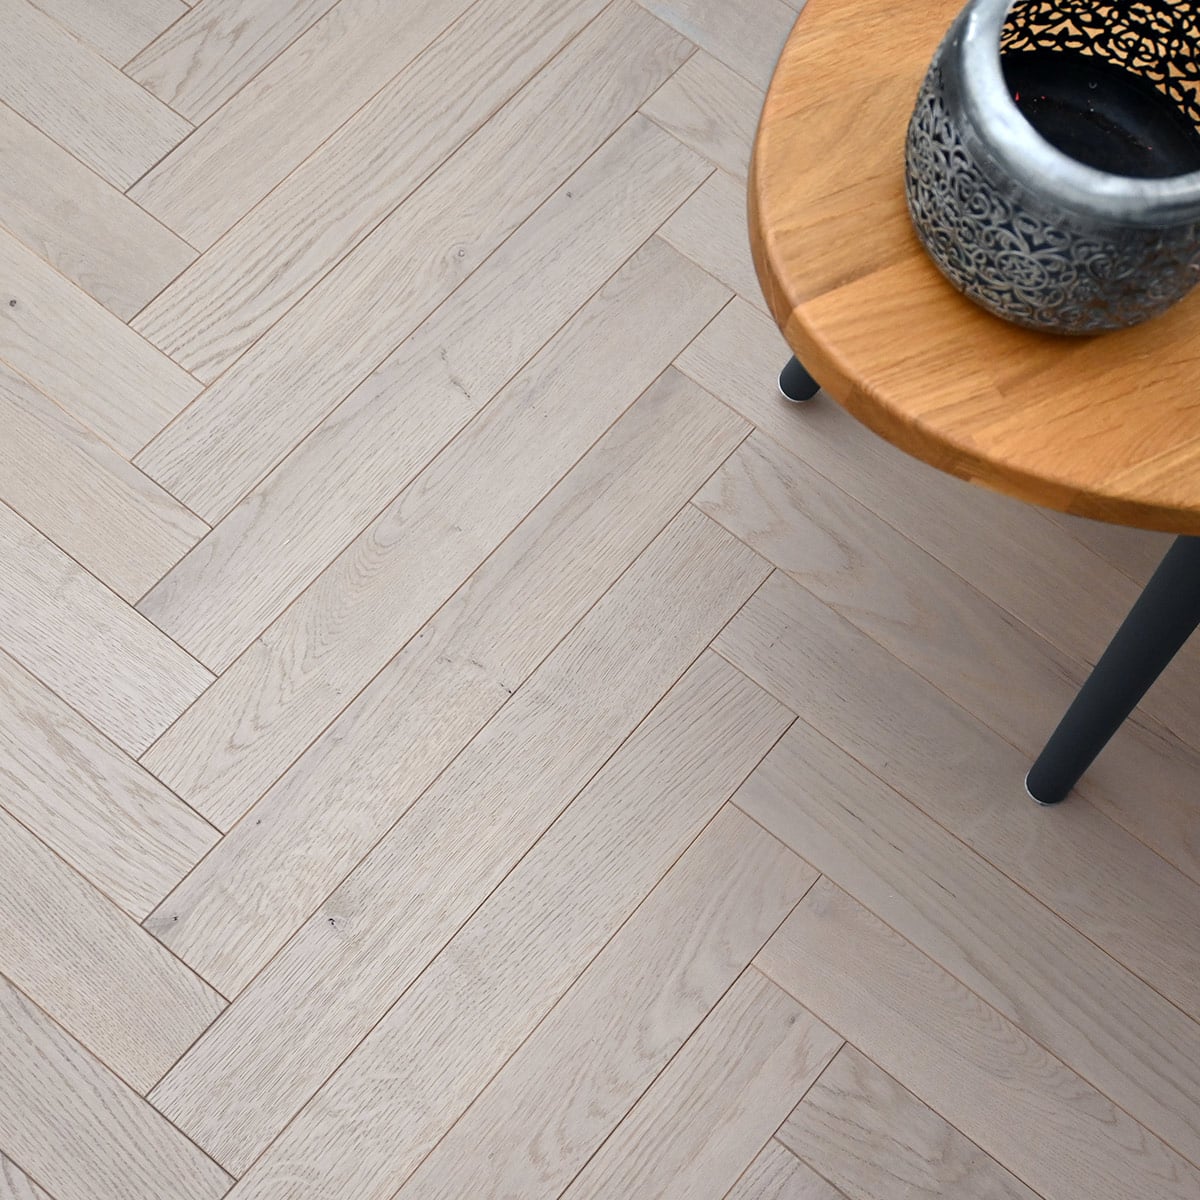
The first thing anyone considers is the overall look. Engineered and solid wood look almost identical, as both are made with quality cuts of hardwood timber, but they do have some slight differences which, upon closer inspection, separate the two. Depending on the quality of the boards and installation, most solid wood flooring will have tighter seams between each individual board, whereas engineered wood is micro-bevelled to maintain a consistent space between each board. The two can also be told apart by the shape and size of each board, as solid wood planks will tend to vary in length, with some being much shorter than others. Engineered wood boards are cut with uniformity in mind, so there is almost no variation in their size or shape, unless specifically selected. This is why engineered flooring is the best choice for anyone looking for a contemporary look, with wider or longer planks. Both engineered and solid wood flooring can be made from different species of wood, most commonly oak – for its all-round robustness and gorgeous grain – but engineered wood flooring can be made from a wider variety of wood types. Solid wood floors need to be made from specific hardwoods such as oak, walnut, and mahogany, but due to the layered and reinforced composition of engineered wood, softer or more unusual wood types can be used to great effect.
Cost
If budget is your main concern , it is worth noting that engineered wood flooring often comes out cheaper than solid wood flooring. This is not a question of quality decline, and instead is based on the amount of wood needed to create each plank. Solid wood planks can be cut up to 22 mm in thickness, whereas engineered wood planks rarely exceed between 2 and 6 mm. Solid wood flooring, being made entirely of one type of high-grade hardwood, will cost more than an engineered floor which uses a much thinner cut of the same quality hardwood, with plywood making up the excess thickness. For the same look and benefits of solid wood for a fraction of the price, we recommend opting for engineered wood.
Sustainability
With timber yield per plank in mind, it is no surprise that solid wood flooring has a much greater impact on the environment than engineered wood. Both can be sourced from managed woodlands – as is our entire range – which considerably lessens the impact manufacturing will have. But as solid wood flooring requires so much more timber than engineered wood, it is not a feasible option for customers seeking an eco-conscious flooring type. Lea more about how engineered wood is changing the face of real wood flooring.
Durability
Both engineered and solid wood have a set ‘wear layer’, which gives each some give in terms of durability. When compared for their durability, the results are virtually equal - given that each is made from naturally hardy timber such as oak. Real wood flooring in general is not the most durable type of flooring, this is in part due to them being made from natural materials. Most hardwoods strengthen with age, but are still susceptible to scratches and dents if extreme pressure is applied. But out of the two, both are reliable choices when it comes to long-term durability.
Water & Heat Resistance
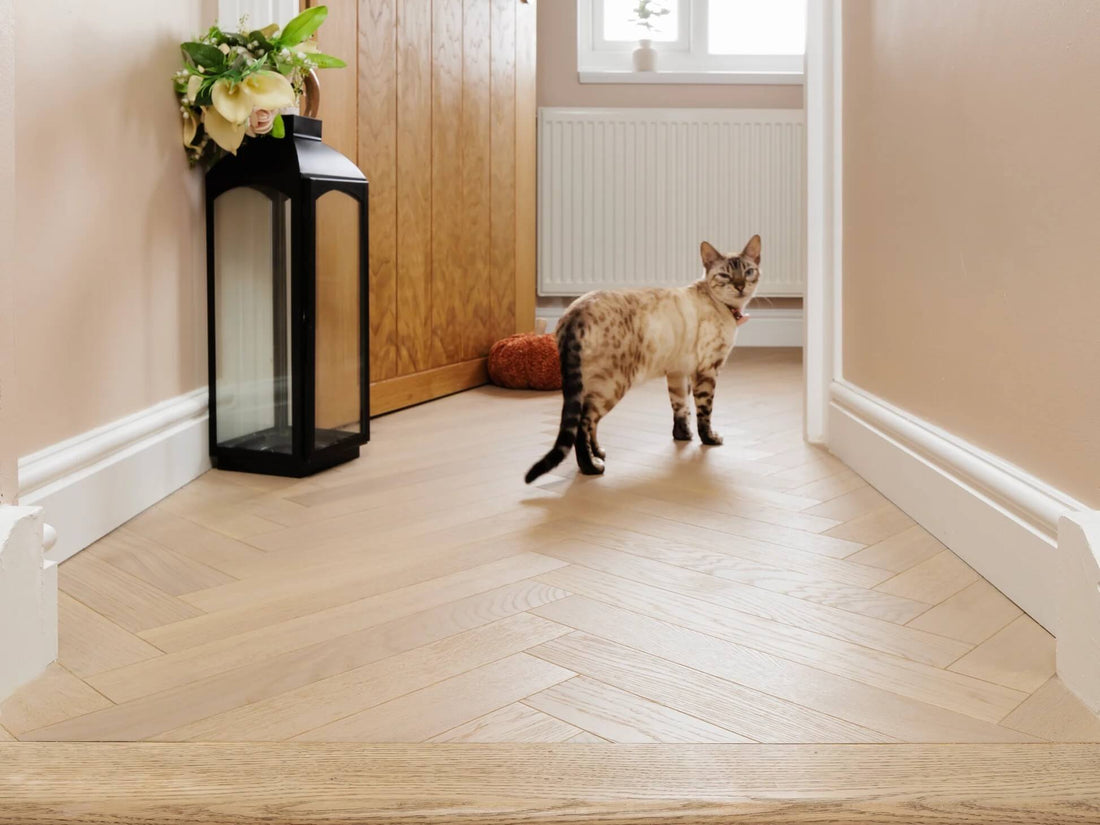
Real wood is porous, as well as highly hygroscopic – which means it absorbs moisture from its environment and naturally expands and contracts with its intake. This susceptibility makes any type of real wood flooring an unwise choice for overly wet environments or areas where temperatures fluctuate, such as kitchens and bathrooms especially. Finishes can provide hardy protection against water damage. But most solid wood flooring comes unfinished, as a standard, so is much more at risk than engineered wood – which will always come pre-finished with some kind of protective oil or lacquer. Out of the two, engineered wood comes out on top when it comes to water and heat resistance. This is, again, thanks to its plywood core, which provides more stability than solid wood and, most importantly, more flexibility. Meaning engineered wood is much less likely to warp and subsequently damage as a result of changing temperatures or humidity.
Maintenance & Lifespan
Overall care for both engineered and solid wood flooring is relatively similar. Both should be swept and vacuumed regularly in order to prevent loose debris from embedding into the grain or scratching the wood’s surface, but are equally easy to clean as long as you opt for products specifically tailored to real wood flooring. As we mentioned before, the lack of finish on the majority of solid wood flooring will put it at risk if liquid spillages are not mopped quickly. Engineered wood flooring can survive longer if water is left to stand, but this is still not recommended. In terms of lifespan, all hardwood matures with age – so will most often be stronger old than it was new, thanks to the fascinating composition of the wood itself. It is one of the reasons we have been using it in construction, and as a flooring solution, for countless years. But when we think in terms of lifespan, how long real wood flooring lasts will depend on how many times it can be refinished. Refinishing involves sanding down the top layer of hardwood, in the case of solid wood flooring, and recoating it in the preferred oil or lacquer, as is most often the case with engineered wood flooring. When sanding, we are working through the natural ‘wear layer’ of the flooring. Both engineered and solid wood have this layer. Solid wood flooring can be sanded several times in its life, and with the right care can last between 80 and 100 years. Engineered wood can be sanded a few times before it will need replacing, as its hardwood layer is thinner than that of solid wood variants. However, when it comes time to replace both, engineered wood comes out on top. This is thanks to its neat and ‘engineered’ installation. Planks can be easily unlocked and separated to make way for new floors, which can be installed quickly and efficiently thanks to this click-and-lock engineering. On the contrary, it is a much more involved process to replace solid wood flooring when the time comes.
The Final Verdict
When it comes to looks, engineered and solid wood flooring is virtually interchangeable, so if your choice is purely aesthetic, then both are safe choices. But if you are looking for real wood floors that are highly resilient to moisture and heat, more cost-effective, easier to maintain long-term and, above all, better for the environment, then engineered wood flooring is the only contender. Engineered wood flooring is the next step in eco-conscious manufacturing, as well as a tailored and modernised alternative to solid wood flooring, and this is why we have specialised in it for as long as we have. Our collections are exquisite in their quality and elegant in their aesthetic, and well worth considering for your home or business. If seeing is still believing, we have free samples ready and waiting for you.
OUR ENGINEERED WOOD FLOORS ORDER FREE SAMPLE