How to Measure a Room for Flooring
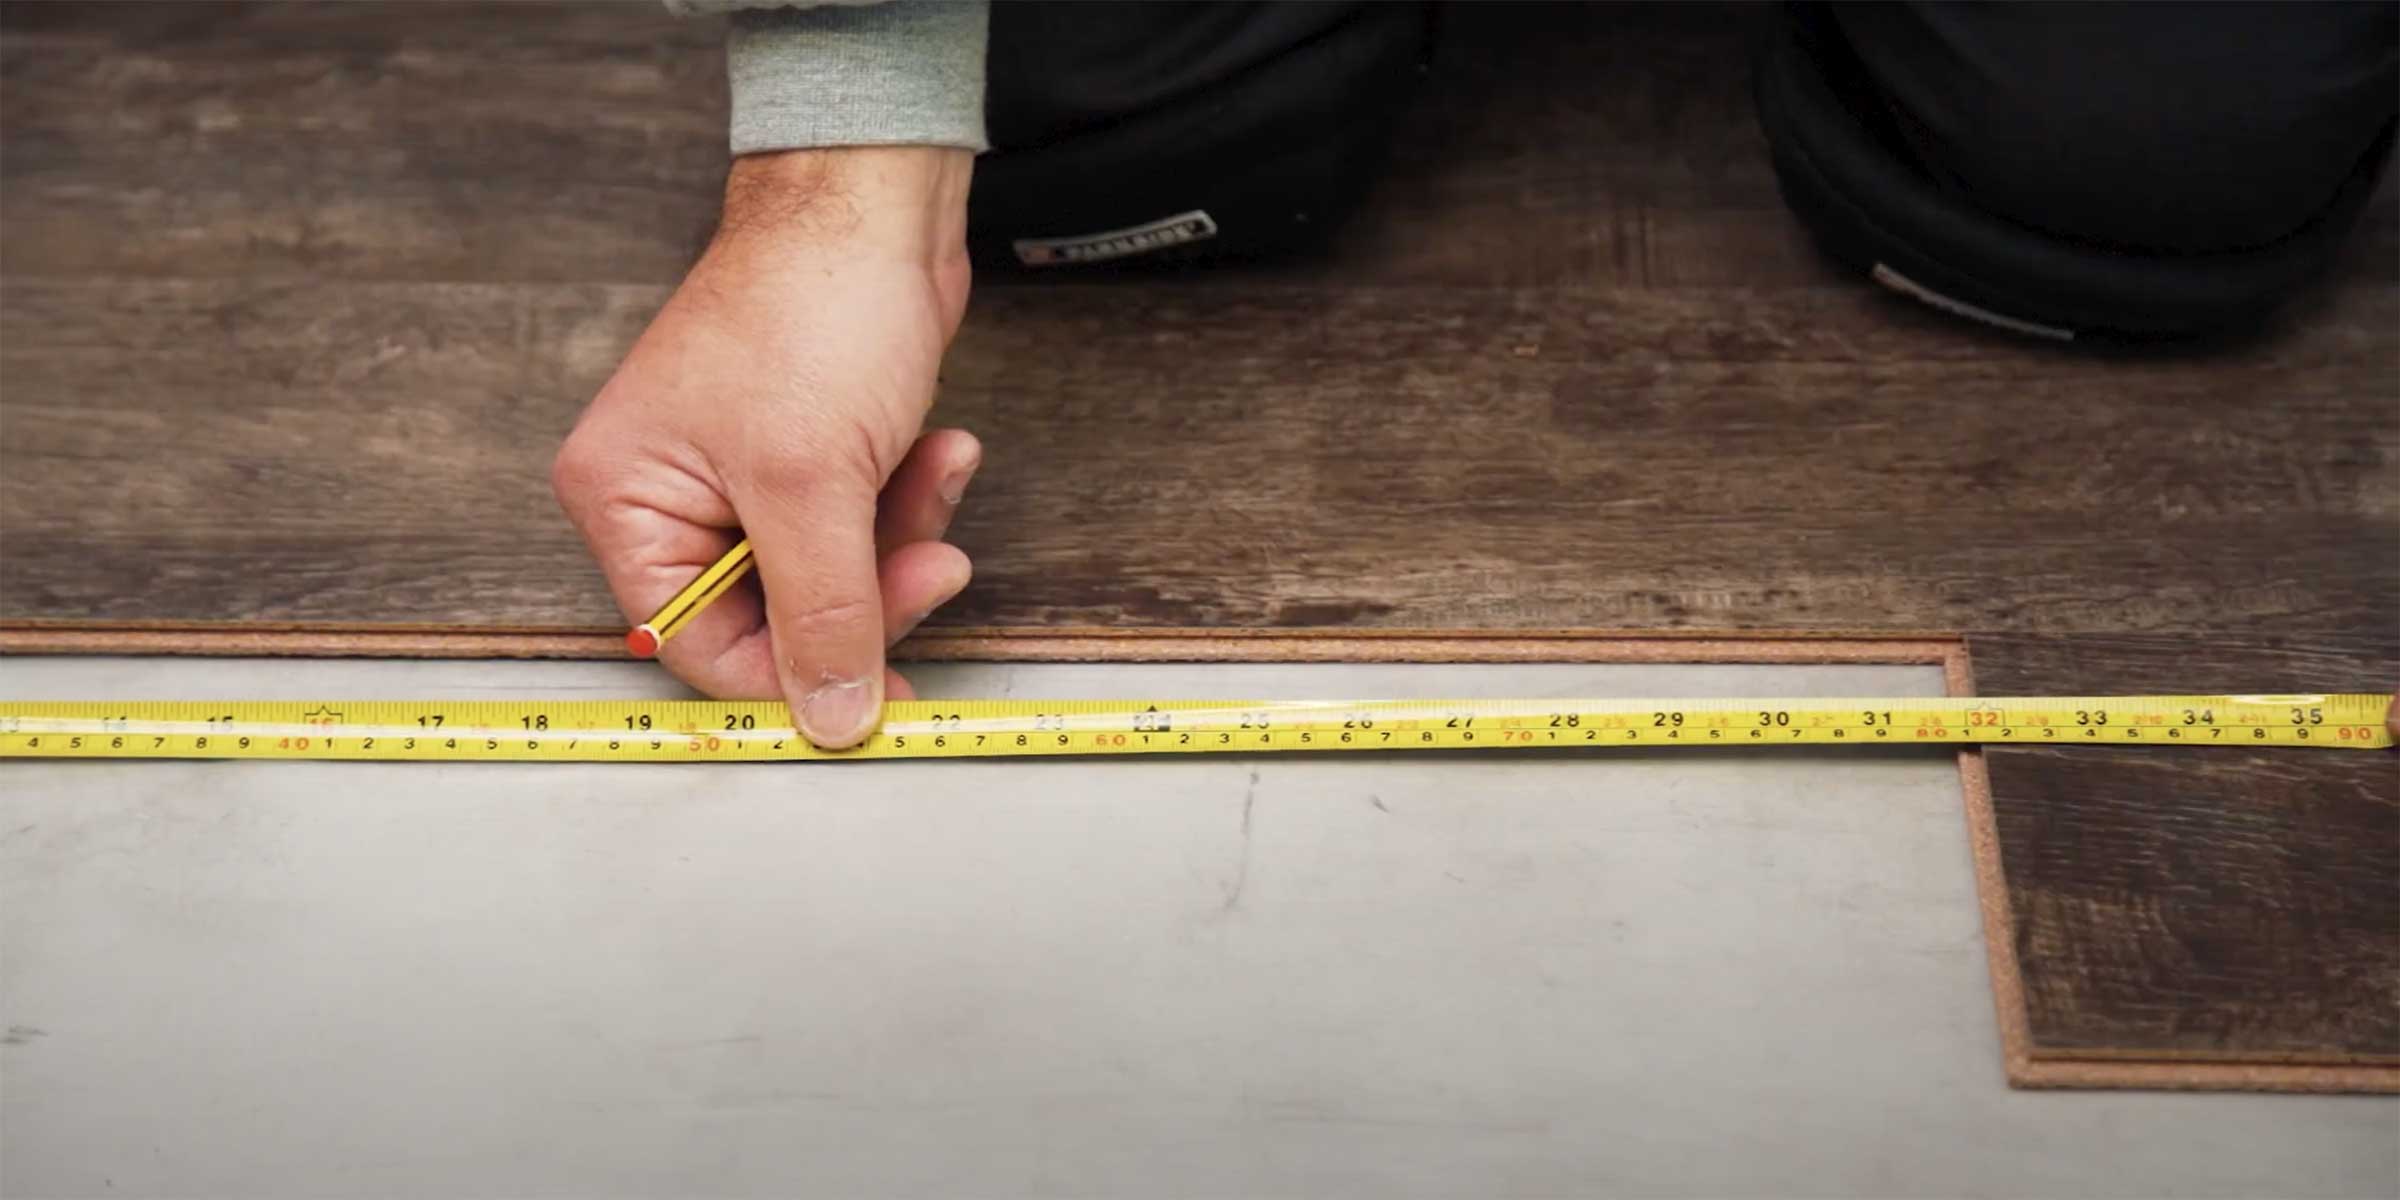
Installing new flooring can completely transform the look and feel of a home, but before you start demolition, it is important to accurately measure the floor space you have. An improper calculation can leave you short on materials, forcing you to stall the project for more boards, or leave sections unfinished and prone to damage or degradation. Proper planning prevents this poor performance.
This guide will walk you through the essential steps for measuring a room for flooring, from creating a layout and accounting for waste to ordering materials and pre-installation checks. With the right tools and techniques, you can gain the peace of mind that you have perfectly measured your floor for a smooth installation.
Tools You Will Need
- Tape Measure
- Pen and Paper
- Calculator
- Laser Measure (optional)
Planning Your Project
Before pulling out the tape measure, take time to plan your flooring project thoughtfully. Start by sketching a basic floor plan on graph paper, dividing the space into individual rooms or sections. Note the layout of each room, indicating the position of doorways, built-ins like fireplaces or cabinets, bay windows, and any other unique architectural details. Accounting for these elements now will make measuring much simpler.
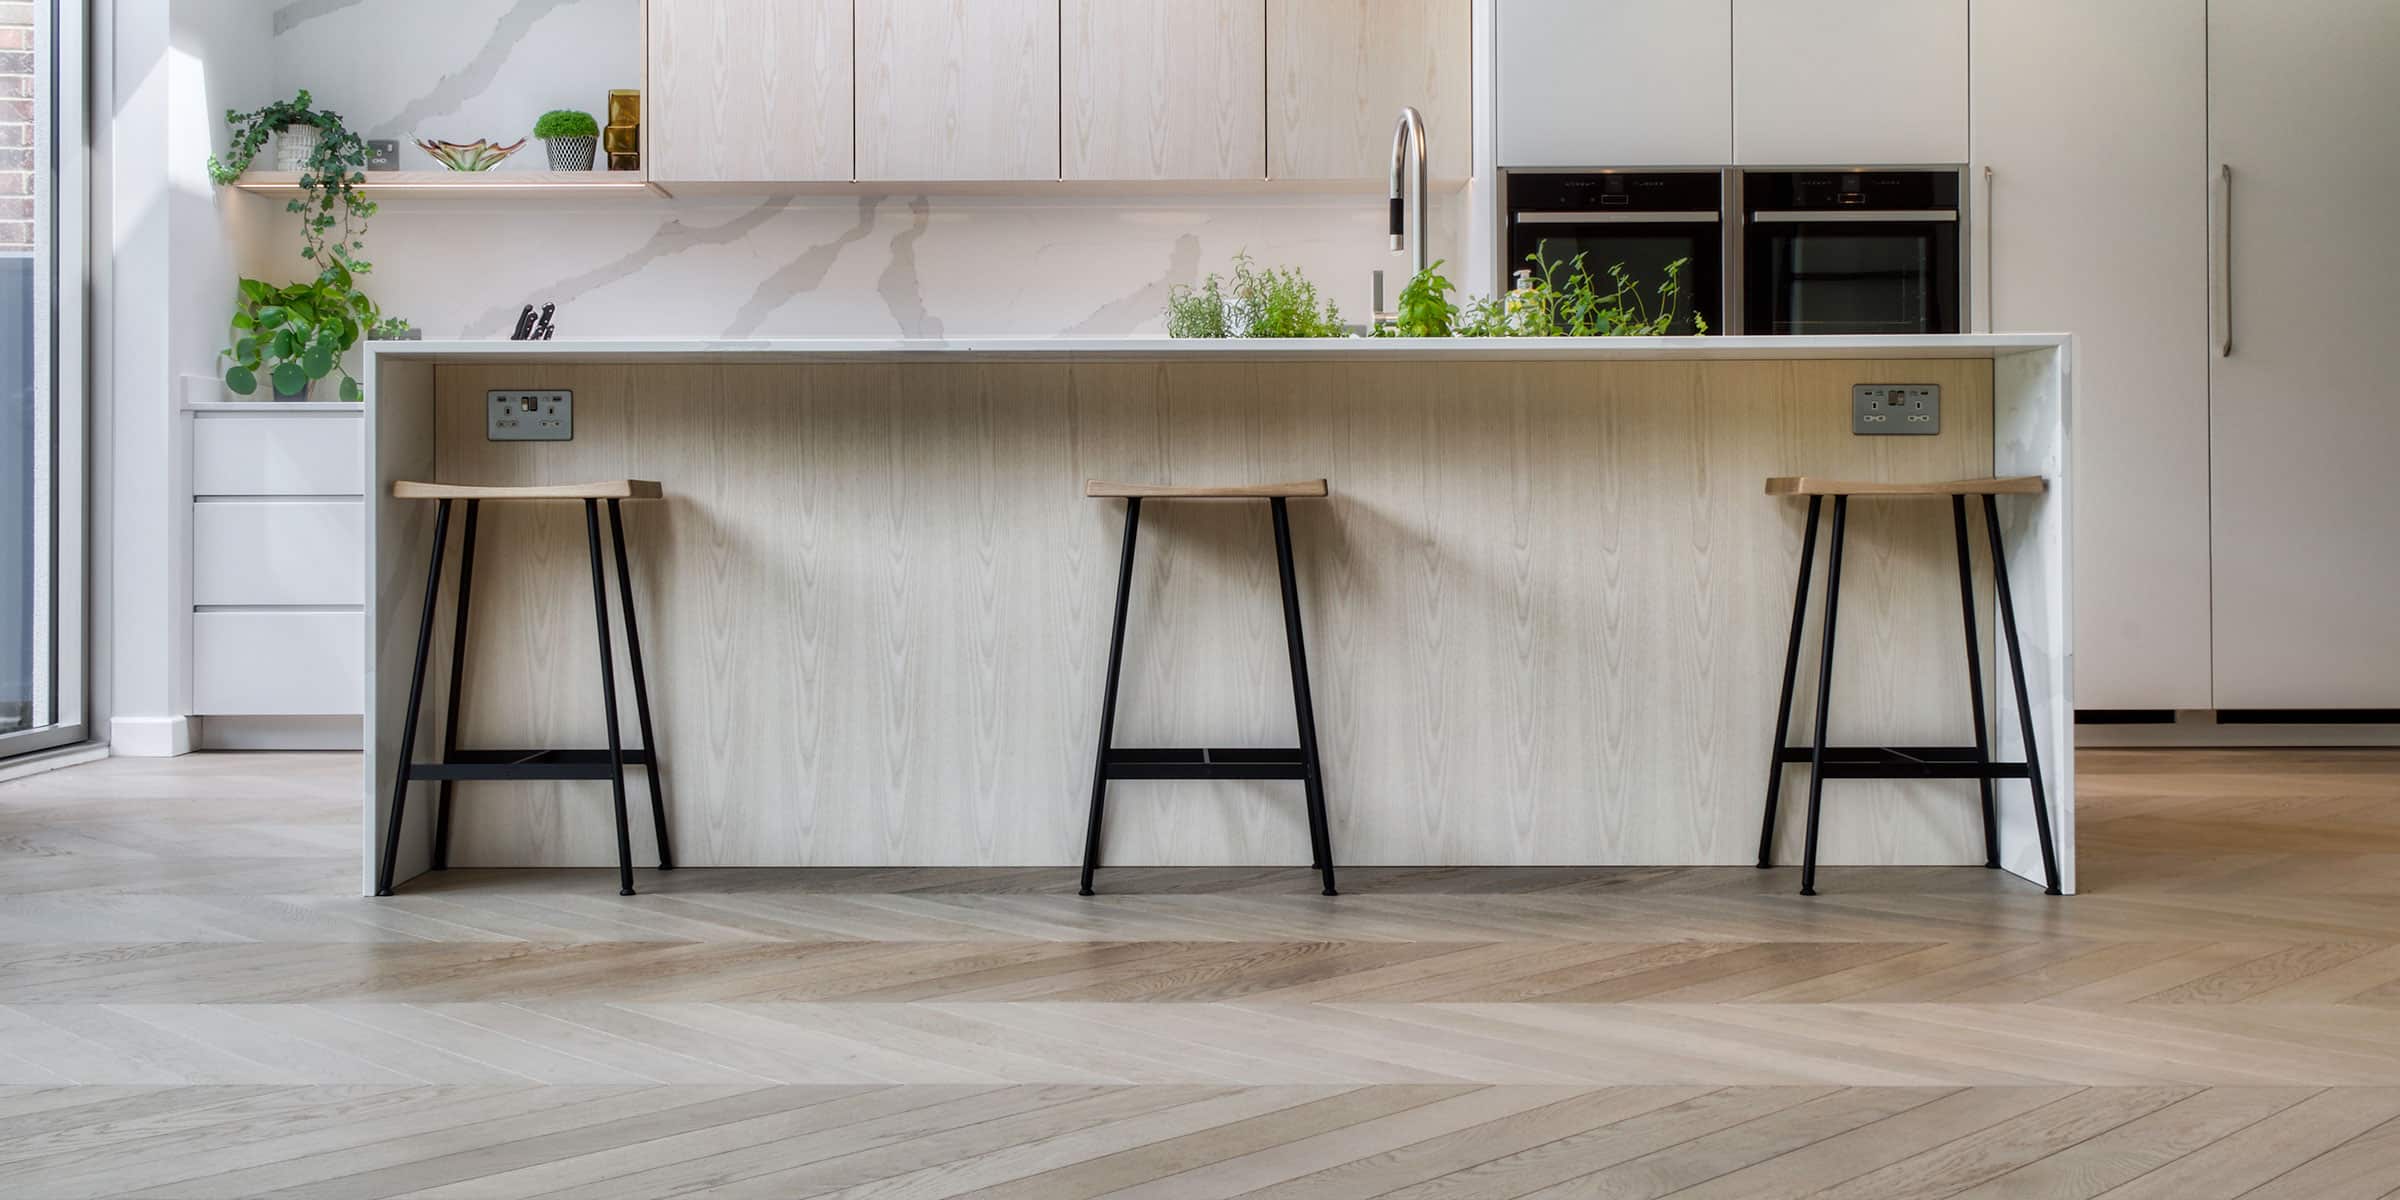
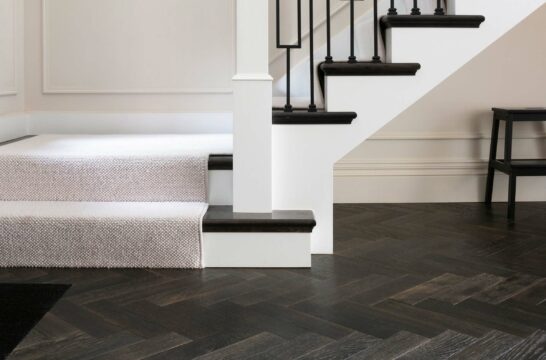
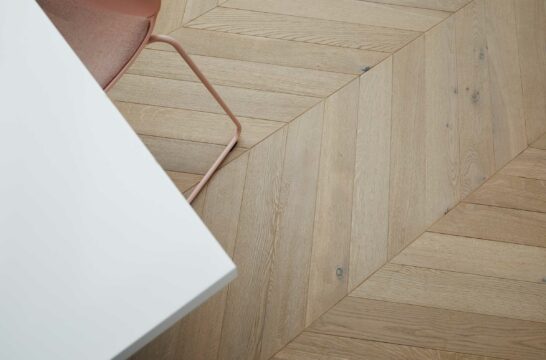
Next, decide on the type of flooring you want to be installed. Choices like engineered wood, laminate, and cork will determine the cutting pattern. For rectangular rooms, a basic straight installation is simple. But for irregular floor plans, you may opt for a more intricate design like a herringbone pattern.
Make sure to sketch your desired flooring direction in each room. With a complete floor plan mapped out, you will know exactly what measurements you need to take.
Accounting for Wastage
When calculating how much flooring you need, you must account for the inevitability of waste. Cutting boards to fit irregular spaces or work around fixed objects will result in unused scraps. Mistakes in cutting and damaged planks also add waste.
For standard engineered plank flooring installed in a straight layout, allot 5–10% extra for waste. But more intricate patterns like herringbone or chevron require more custom cuts, so allocate 10–20% additional material. Having these waste percentages in mind while measuring will ensure you never come up short on materials.
For DIY installations, order an extra 5–10% as your cutting skills improve, and consider consulting a professional installer as they can efficiently lay flooring with less waste.
Expert tip: Scraps may be reusable for repairs down the road, so be sure to save what you do not use this time. The locking systems used on all V4 flooring are designed for simple extraction and replacement. You can find out more by reading our dedicated installation guides.
Ordering Materials
Once you have your total square footage calculated with the waste factor added in, it is time to order your new flooring materials from your local V4-approved stockist.
Take your time double-checking the order amount before submitting payment to avoid an incorrect dispatch. Accurate measuring and planning pay off in a smoother installation.

Pre-Installation Checks
Proper preparation is vital before attempting to install your V4 flooring of choice. To help you in this process, here is a checklist to complete before your flooring arrives:
Finish Wet Trades
All wet trades, including screeding and plastering, should be finished with sufficient time allowed for complete drying. Your installation could also benefit from performing a relative humidity test ahead of time, to ensure that moisture levels are within the recommended range for flooring installation.
When your flooring does arrive, you should leave all materials in their original packaging, and in the room they are to be installed in for at least 48 hours. This will give your new flooring plenty of time to properly acclimatise to the natural humidity and temperature levels in your home.
Decorating and Cleaning
Carry out painting and any other major decorating tasks ahead of the floor fitting. This helps avoid potential damage from spills and debris. If you must use masking tape on the floor, remove it daily to prevent adhesive residue – especially on floors with underfloor heating.
Cabinet Installation
Fit all fixed cabinetry, such as kitchen units, before laying your floor. This prevents heavy units from restricting the natural movement of the wood and avoids the risk of damage during installation.
Subfloor Assessment
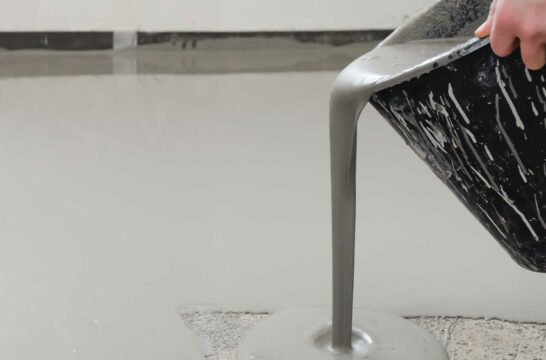
Inspect and prepare your subfloor carefully. It must be level, stable, and free of moisture. Any necessary levelling should be completed, whether by securing existing floorboards or applying a suitable compound.
For a uniform height transition, especially where different flooring types meet, consider installing a plywood layer or using expansion joints.
Underfloor Heating Considerations
If you have an underfloor heating system, ensure it’s embedded within a screed or levelling compound. The system should be turned off at least 48 hours before installation to prevent any heat-induced moisture issues. Always follow manufacturer guidelines to maintain the correct temperature once the flooring is installed.
All V4 flooring, including our engineered wood, laminate, and cork ranges, are optimised for compatible usage with underfloor heating systems. This means, once installed, these flooring types will work seamlessly alongside your existing system, and evenly distribute heat across each room they are laid in.
Invest in Easy-to-Measure Flooring from V4
The key to a flawless flooring installation lies in meticulous planning and precise measuring. Whether you are crafting a new living space or refreshing an old one, taking the time to assess and prepare your area can make all the difference in achieving a professional finish.
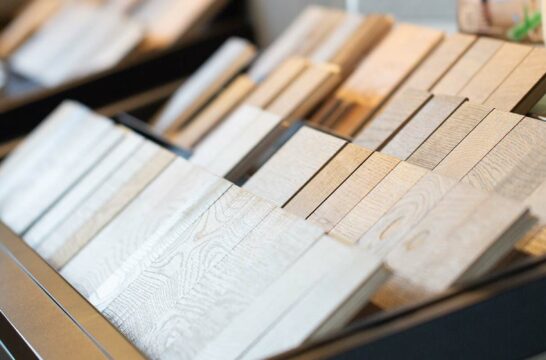
If you have yet to decide on new flooring for your home, we encourage you to explore our diverse range of high-quality options. When you are ready, we have free samples you can order to experience the V4 difference for yourself.
