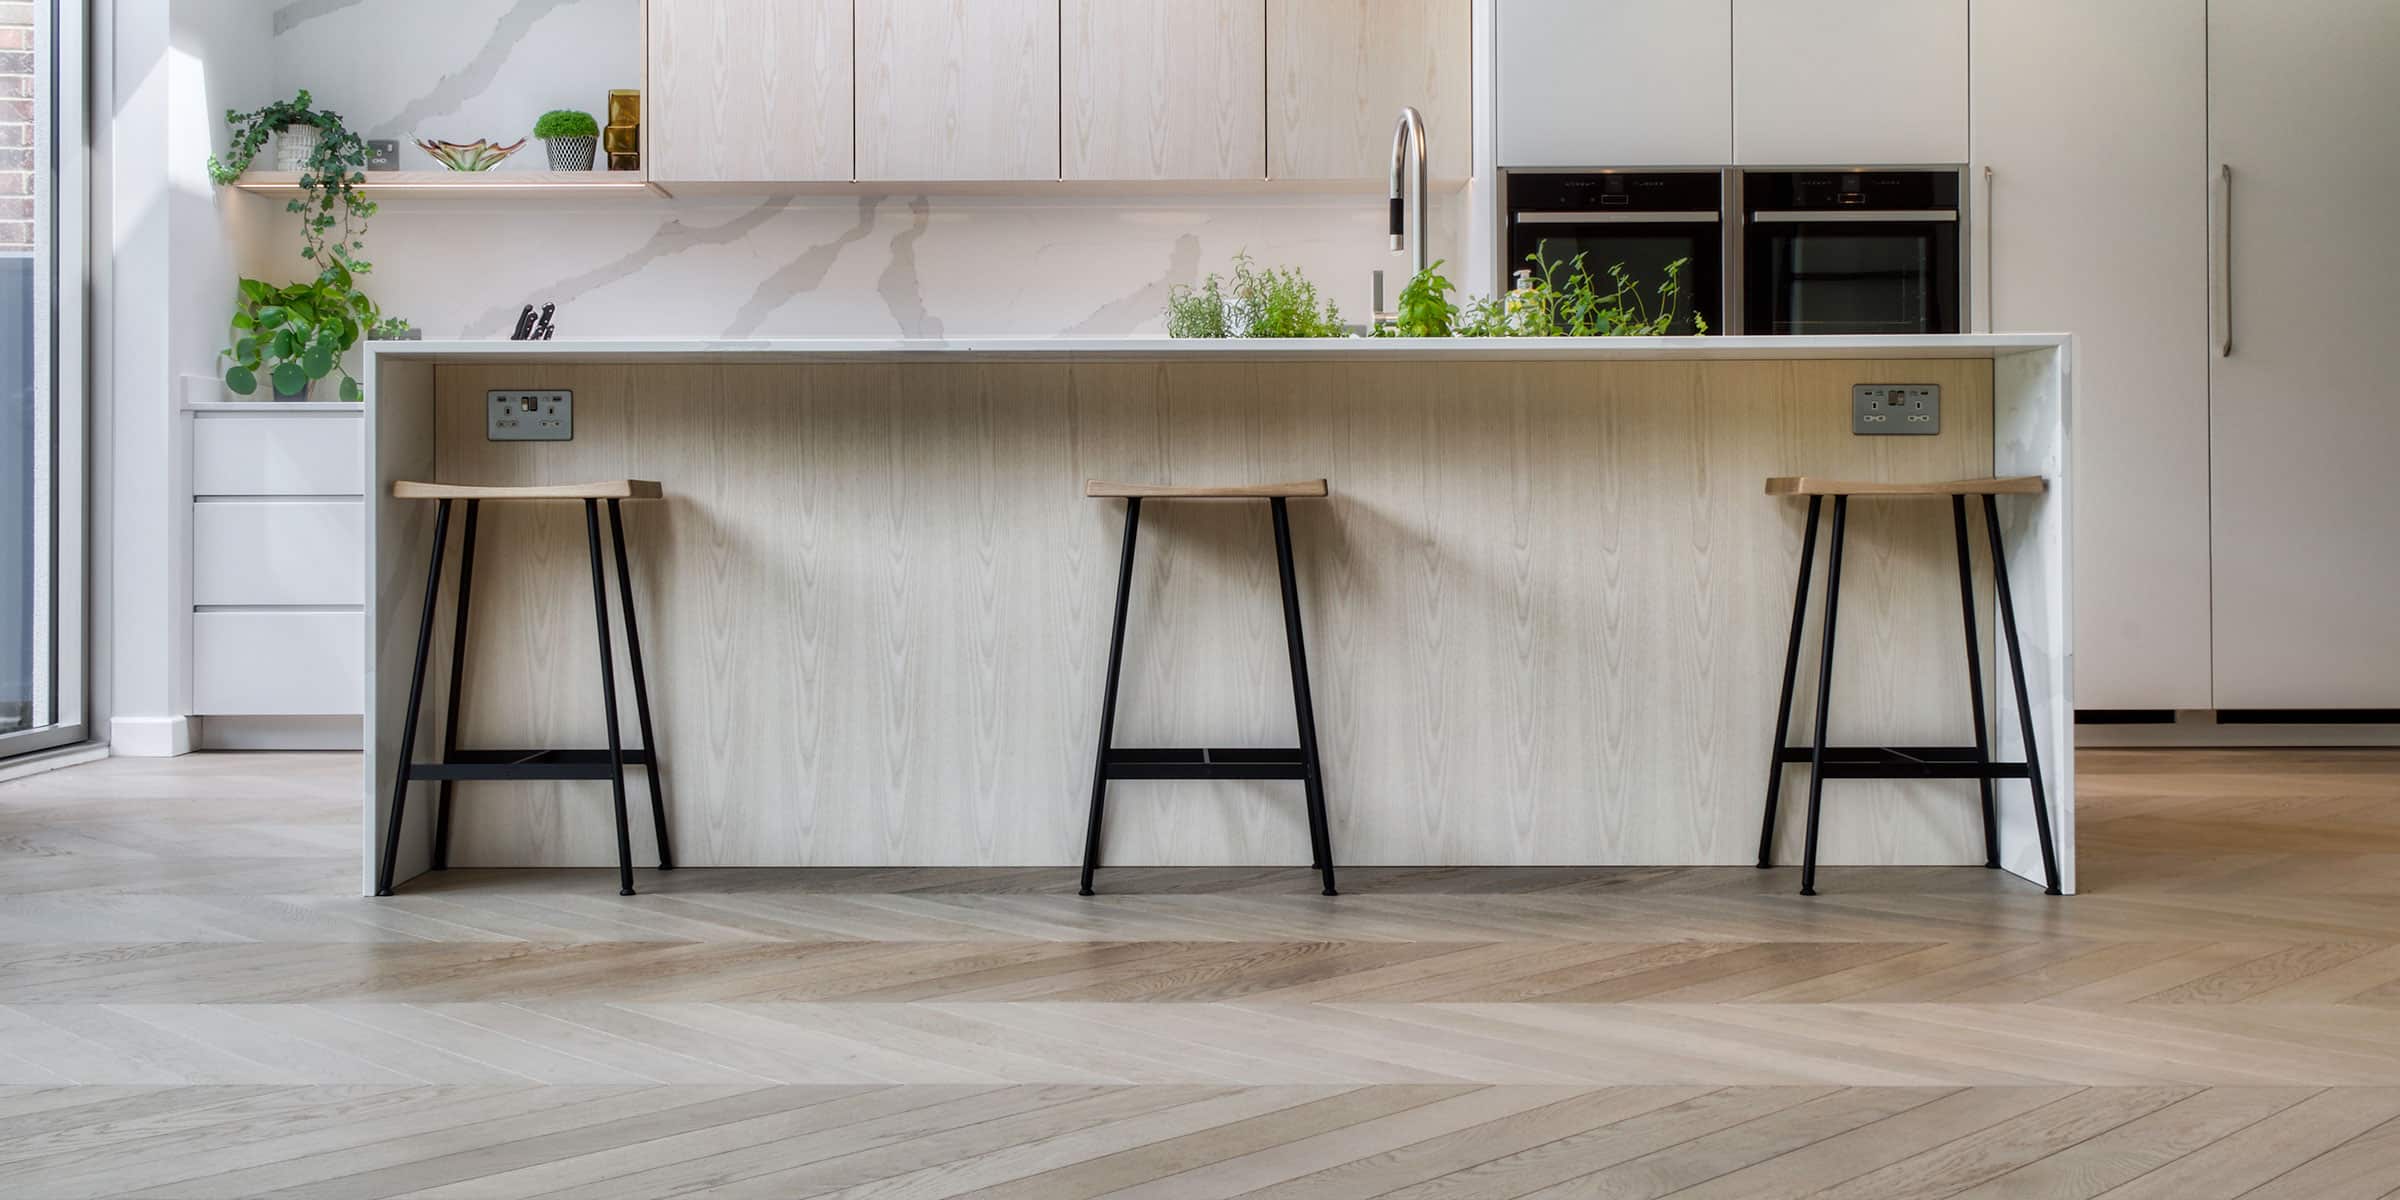
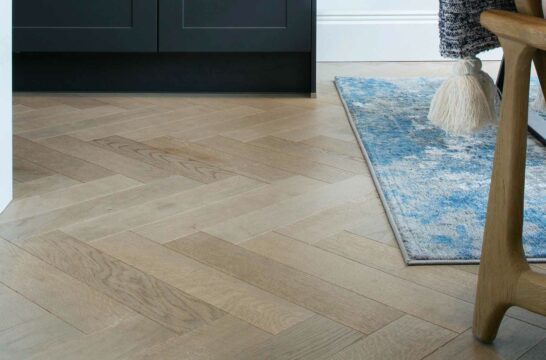
Our step by step fitting guide will walk you through the installation process.

Introduction
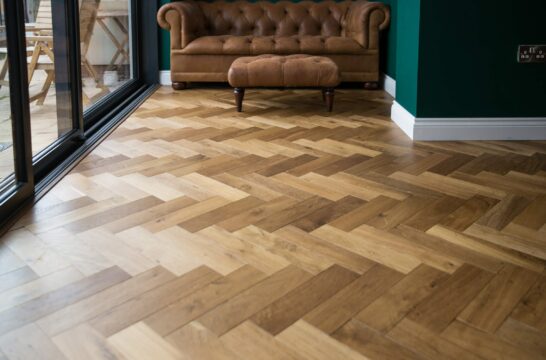
This guide will give you basic advice on how to layout and install engineered parquet blocks in a herringbone pattern. It is important to first read and understand the Wood Flooring Installation guide which you can find here.
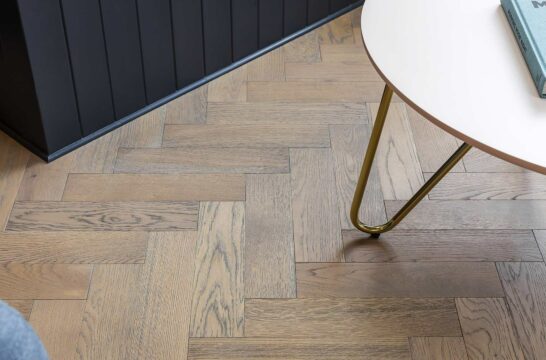
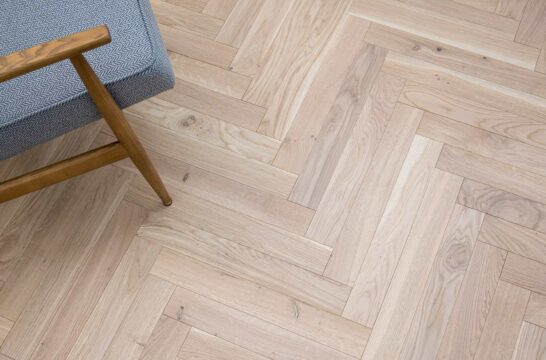
V4 Wood Flooring bevel edged engineered parquet block which do not require sanding and filling like traditional solid parquet blocks. Once the sub floor has been correctly prepared and is fully level, dry and primed, they can be installed using the correct flooring adhesive. Our engineered parquet herringbone floors must be installed fully bonded to the subfloor. We recommend Mapei Ultrabond Eco S948 1K which provides excellent grab and is fully tested with all our engineered wood floors.
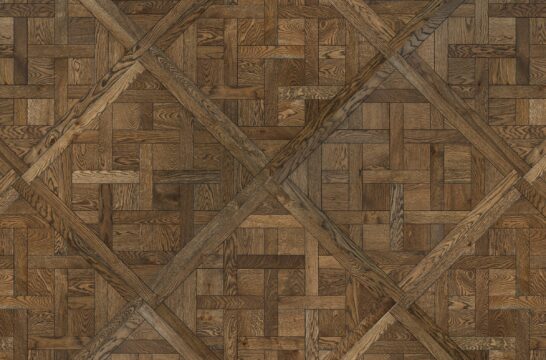
Deco Parquet and can be installed in many different patterns as the blocks are universal(not left and right) as they have one tongue and 3 grooves. Please note that some patterns will require false tongues to ensure a stable installation. (For Herringbone styles where the blocks overlap side and header joints, false tongues are not required.)
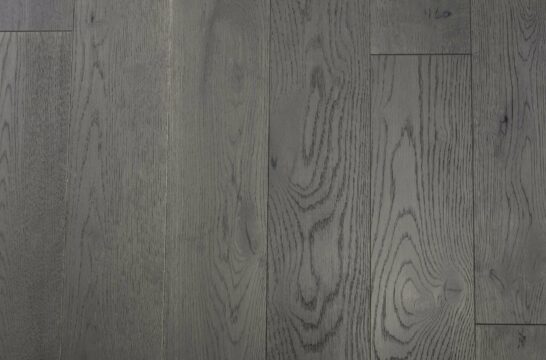
The Tundra Herringbone collection can also be installed in various herringbone patterns but unlike Deco Parquet the blocks come in left and right versions.
Step 1 – Prepare For the Installation
The site conditions and subfloor are prepared and the flooring has been fully acclimatised as per the Wood Flooring Installation guide.
IMPORTANT NOTE: Our engineered parquet herringbone floors must be fully bonded to a well prepared subfloor using an appropriate flexible wood flooring adhesive.
Step 2 – Setting The First Row
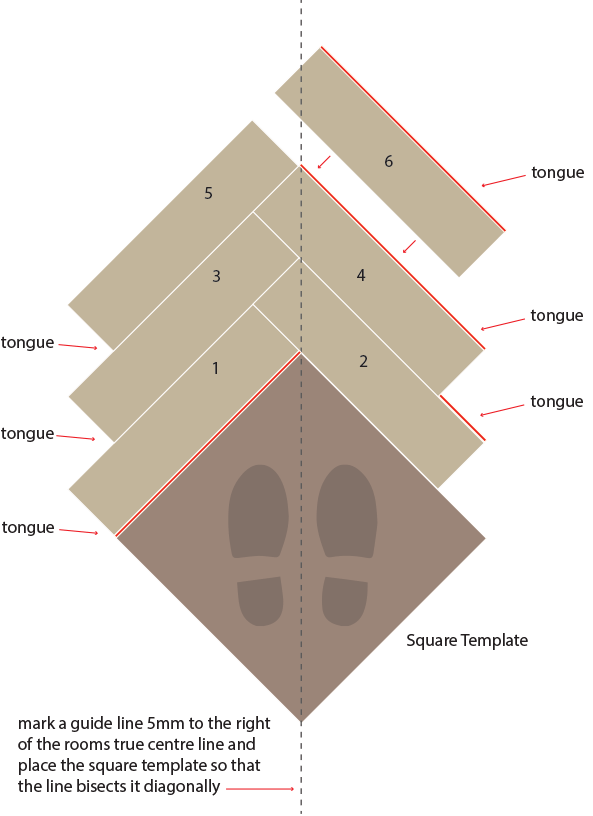
It is important to be precise with a herringbone installation so ensuring the first row is correctly positioned and square is key. The following method makes layout simple using a perfect square template to set the first row. Ensure the square template is screwed to the subfloor so it can be easily removed once the first row is set. Once correctly positioned the square template will give a solid start point making it easier to move the blocks into position without gaps opening up.
- Plan the direction of the herringbone pattern, usually this will follow the length of the room.
- Find the centre of the room and use a plumb line to mark out a centre line. The apex of the first row of blocks will run along this line. Note: If the centre line is used to align the square template then the row apex will be offset by the depth of the tongue which is approximately 5 mm. If total accuracy is required then first find the room’s centre line and then mark an offset guide line 5 mm to it’s right and use this line to place the square template. The template should have sides equal to, or greater than the length of the blocks.
- Starting close to the wall place the square template so that the offset guide line bisects square diagonally from opposite angles. Once positioned screw the template to the subfloor.
- Working from this template will ensure the first row’s apex follows the centre line.
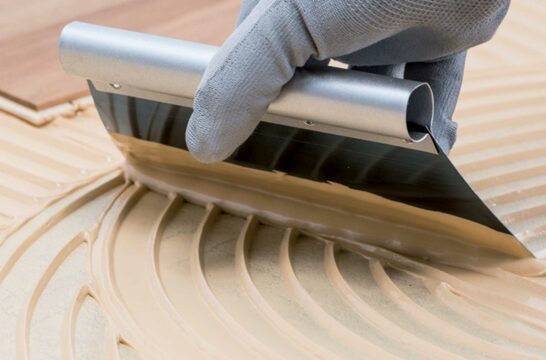
- Standing on or behind the square template, apply Mapei Ultrabond Eco S948 1K adhesive with a Mapei Trowel to the area in front of the square. Note: It is good practise to loose lay the first row to make sure you are happy with the orientation guide line and placement of the square template. Tip: It is also important to mix the blocks to ensure an even distribution of grade, grain and colour variation across the finished floor
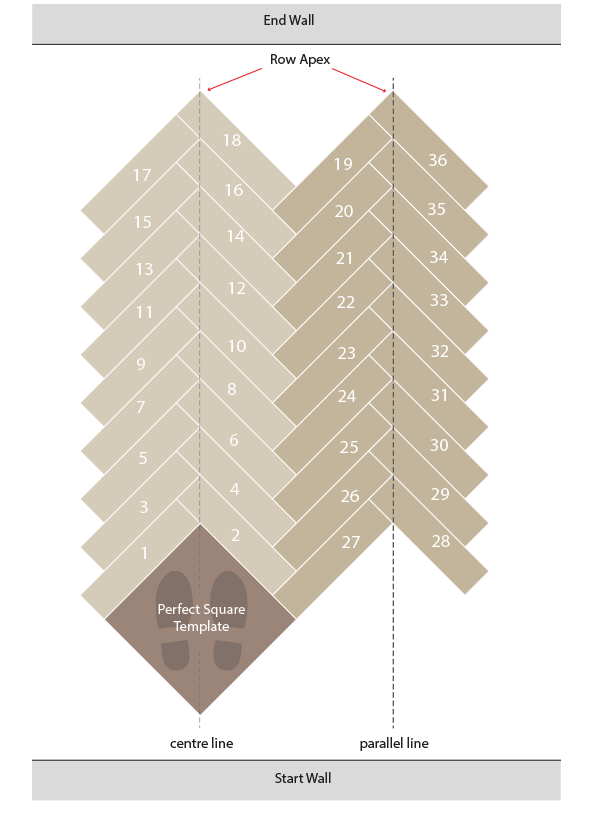
- As per the diagram below, place block 1, with tongue against the left hand side of the square template so that the leading header is in line with the right hand edge of the square template
- Place block 2 with tongue facing away so that the grooved edge is pressed against both the header joint of block 1 and the righthand side of the square template.
- Repeat points 6 & 7 placing blocks onto the bed of adhesive ensuring that they connect, the leading corner of the herringbone pattern should be positioned over the centre line which is 5 mm left of the guide line. Tip: Use a hammer and tapping block to push the blocks together, occasionally lift a block and check the adhesive has full coverage.
- Once the first row has reached the opposite end of the room or the finish point, use a tapping block and hammer to make any adjustments while the adhesive is still wet and remove any adhesive which has not been covered. Important Tip: Remove any adhesive spills from the face of the blocks while it is wet with a damp cloth before the adhesive sets. Allow the adhesive to fully cure and this row will form a fixed point template for subsequent rows.
Step 3 – Complete the Installation (refer to the diagram below)
- Working off the first row, loose lay the second row placing checking that that the apex of the second row is parallel to the centre line.
- Once you are happy to install, apply adhesive to the area adjacent to the first row.
- Starting at the ‘End Wall’, install the first half of the second row in two halves. The first block(19) should be placed so that the long grooved edge is pressed against the header joint from the last block in the first row (18) and the header joint groove connects with the next section of exposed tongue the next block(16) in the first row. Repeat this process with the first half the second row until the square template is reached.
- Once the first half of the second row is in place there is no need to wait for the adhesive to set. The second half of the second row is installed. Beginning at the ‘Start Wall’ place the next block(28) so that the long grooved edge is pressed against the header joint of the last block (27) and the grooved header joint connect with the exposed tongue of the next block(26)
- Repeat this process to fill both sides of the first row cutting blocks to fit the perimeter of the room so that adequate expansion gap is maintained which can then be covered by skirting or moulding.
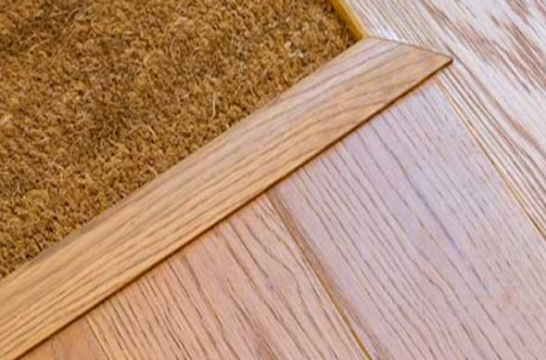
- A border may be installed using a plunge saw to cut away the blocks to make the required space. A groove can then be machined into the cut edge so that blocks can be joined.
