Tips for Refinishing Engineered Wood Floors
Like any material, your wood floors will eventually succumb to the rigours of everyday use, with fading finishes and in some cases broken down wear layers. This is normal for any flooring in your home, especially those in high-traffic areas. How you manage the signs and remedy them is what will set your floors apart from the rest.
In this comprehensive guide, we will explore the ins and outs of refinishing your wood floors, from knowing the right time to refinish to choosing the right kind of finishing method.

Where Solid Wood and Engineered Wood Differ
Though both solid and engineered wood floors are similar, in that they utilise pure hardwood and can be installed in similar ways, they are fundamentally different in crucial differences, including the methods needed for refinishing.
Composition
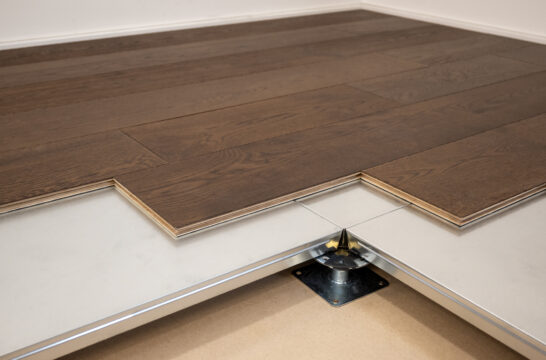
Solid wood flooring is made from a single piece of hardwood, which allows for multiple rounds of sanding and refinishing over its lifetime. Engineered wood, on the other hand, consists of a top layer of hardwood bonded to multiple layers of high-quality plywood. This structure gives engineered wood its innate strength and flexibility, setting it apart from solid wood in terms of environmental resilience, but also limits the number of times it can be refinished.
As an example, our engineered wood flooring features a hardwood layer measuring between 2 and 6 mm, meaning your method for sanding should be delicate, to avoid damaging its surface or breaking through to the multi-ply base underneath.
Finish
The type of finish you choose, be it lacquer or oil, also plays a role in the refinishing process. For instance, lacquered floors can be sanded and refinished, whereas oil-finished floors can only be maintained, not sanded.
Understanding these nuances is crucial for anyone considering a refinishing project. Whether you have engineered or solid wood floors, knowing their unique characteristics will help you choose the right refinishing method, ensuring your floors remain a stunning feature in your home for years to come.
Signs Your Wood Floors Need Refinishing
Over time, you may notice certain signs that indicate your wood floors need refinishing. Here are some key symptoms to look out for:
- Discolouration: Sunlight and daily use can cause the colour of your wood floors to fade or darken. If you notice significant discolouration, it may be time to consider refinishing.
- Scratches and Scuffs: Minor scratches are normal, but if your wood floor has deep scratches or a multitude of scuffs, refinishing can restore its original beauty.
- Dullness: A loss of sheen or lustre is a clear sign that your wood floor’s finish has worn off. Refinishing can bring back that fresh, glossy appearance.
- Water Damage: If you see water stains or warped boards, immediate action is required. While minor water damage can be addressed through refinishing, severe cases may require board replacement. Follow our guide for more information.
- Visible Wear: High-traffic areas like hallways and kitchens are more prone to wear, so if your wood floor’s wear layer looks visibly thin or uneven, it could be a sign that it needs some attention.
Sanding and refinishing become necessary when these symptoms worsen to a point where they risk causing irreparable damage, or when the natural vibrance and beauty of the floor have significantly diminished. For engineered wood flooring, it should be a last-resort solution, aimed at rejuvenating your floor and extending its lifespan.
What to Consider Before Sanding Your Wood Floors
The Thickness of Your Wear Layer
Before you even think about sanding, you must first assess the thickness of your wear layer – the top hardwood portion of your engineered wood floor. The wear layer dictates how many times the floor can be sanded and refinished, so a thicker wear layer offers more leeway for sanding, while a thinner one may not withstand the process.
How Your Floors Have Been Fitted
The way your wood floors are installed also impacts your sanding approach. Glued floors are generally more stable, allowing for a more aggressive sanding technique, whereas floating floors, which are not bonded to the underlayment, require a lighter touch.
Manual or Powered Approaches
Speaking of hard and light touches, when it comes to the actual sanding, you have two options: manual or mechanical. Manual sanding gives you more control but can be laborious and time-consuming, especially for larger areas. Mechanical sanding is quicker but poses a higher risk of sanding through the wear layer.
For engineered wood floors, manual sanding is recommended to minimise the risk of damaging the wear layer.
Your Finish or Stain of Choice
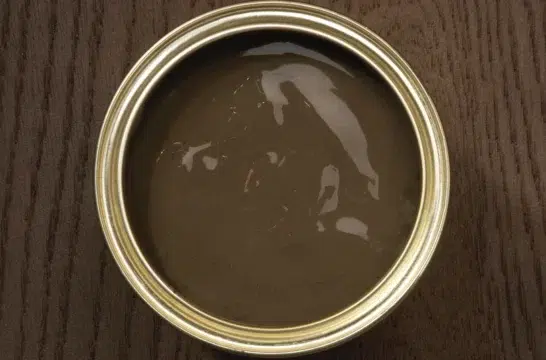
After sanding, you need to apply a finish to protect your newly exposed wood. You have several options, from hard-wearing lacquers ideal for busy homes to natural oils that offer a rich, organic look. Your choice will depend on your aesthetic preferences and the level of durability you need.

How to Sand and Refinish Your Wood Floors
1. Prepare the Area
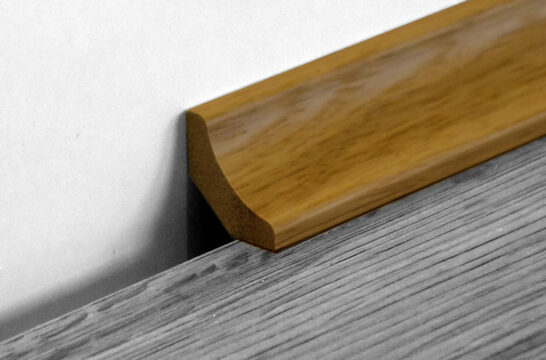
Start by removing all furniture and personal items from the room, and if there are fixtures that cannot be moved, cover them with protective sheets to shield them. If your room has skirting boards, consider removing them for a more thorough job.
Once the area is cleared, give the floor a good sweep or hoover to remove any loose dirt, and then you should be good to go.
2. Begin Sanding
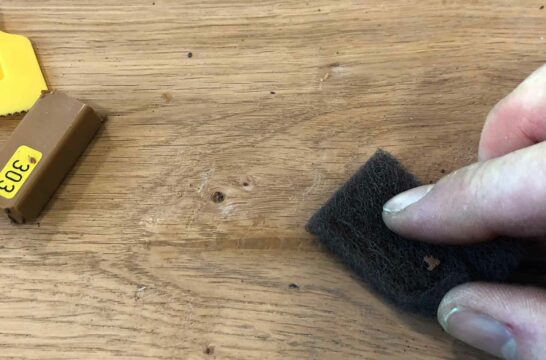
For engineered wood floors, manual sanding is the safest bet to avoid damaging the boards. Start in one corner of the room and work your way out, section by section, always sanding in the direction of the wood grain to minimise scratches and imperfections post-refinish.
Use a coarse grit sandpaper to start, gradually moving to finer grits as you go along, as this helps remove the old finish effectively and prepares the wood for the new coat. If you are doing this yourself, keep track of your progress to ensure you have sanded the entire surface evenly.
3. Clean and Apply Finish
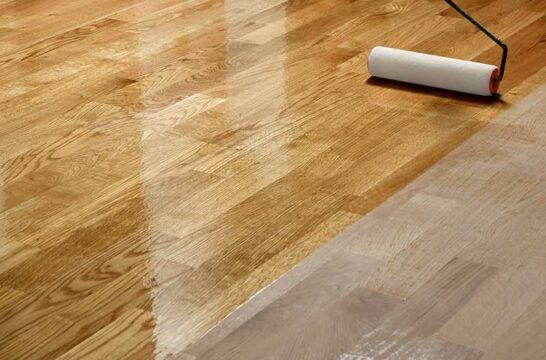
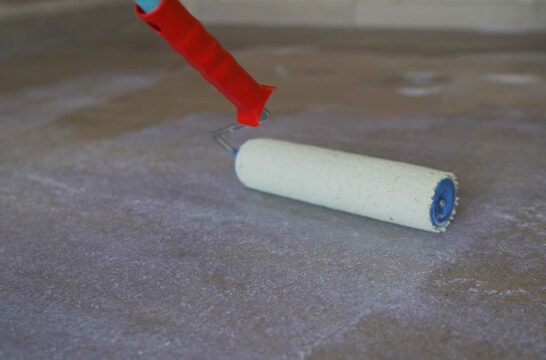
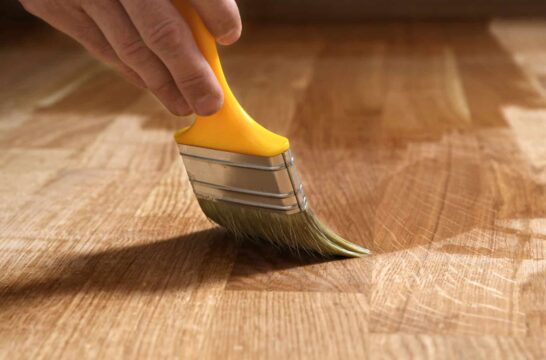
Use a hoover with a hardwood setting to remove any leftover debris, then run a damp cloth over the boards to pick up any remaining dust. Then you can apply your finish of choice. Whether you have chosen a lacquer or an oil finish, make sure to read the manufacturer’s instructions carefully. Apply the finish using a high-quality brush or roller, working in long, even strokes.
If you are using lacquer, you may need to apply multiple coats, allowing sufficient drying time between each. Oil finishes usually require a single application but check the guidelines to be sure. We offer a wide range of oil and lacquer finishes for wood floors, all of which are low-VOC and compatible with our range of flooring, especially important if you are looking to match an existing finish.
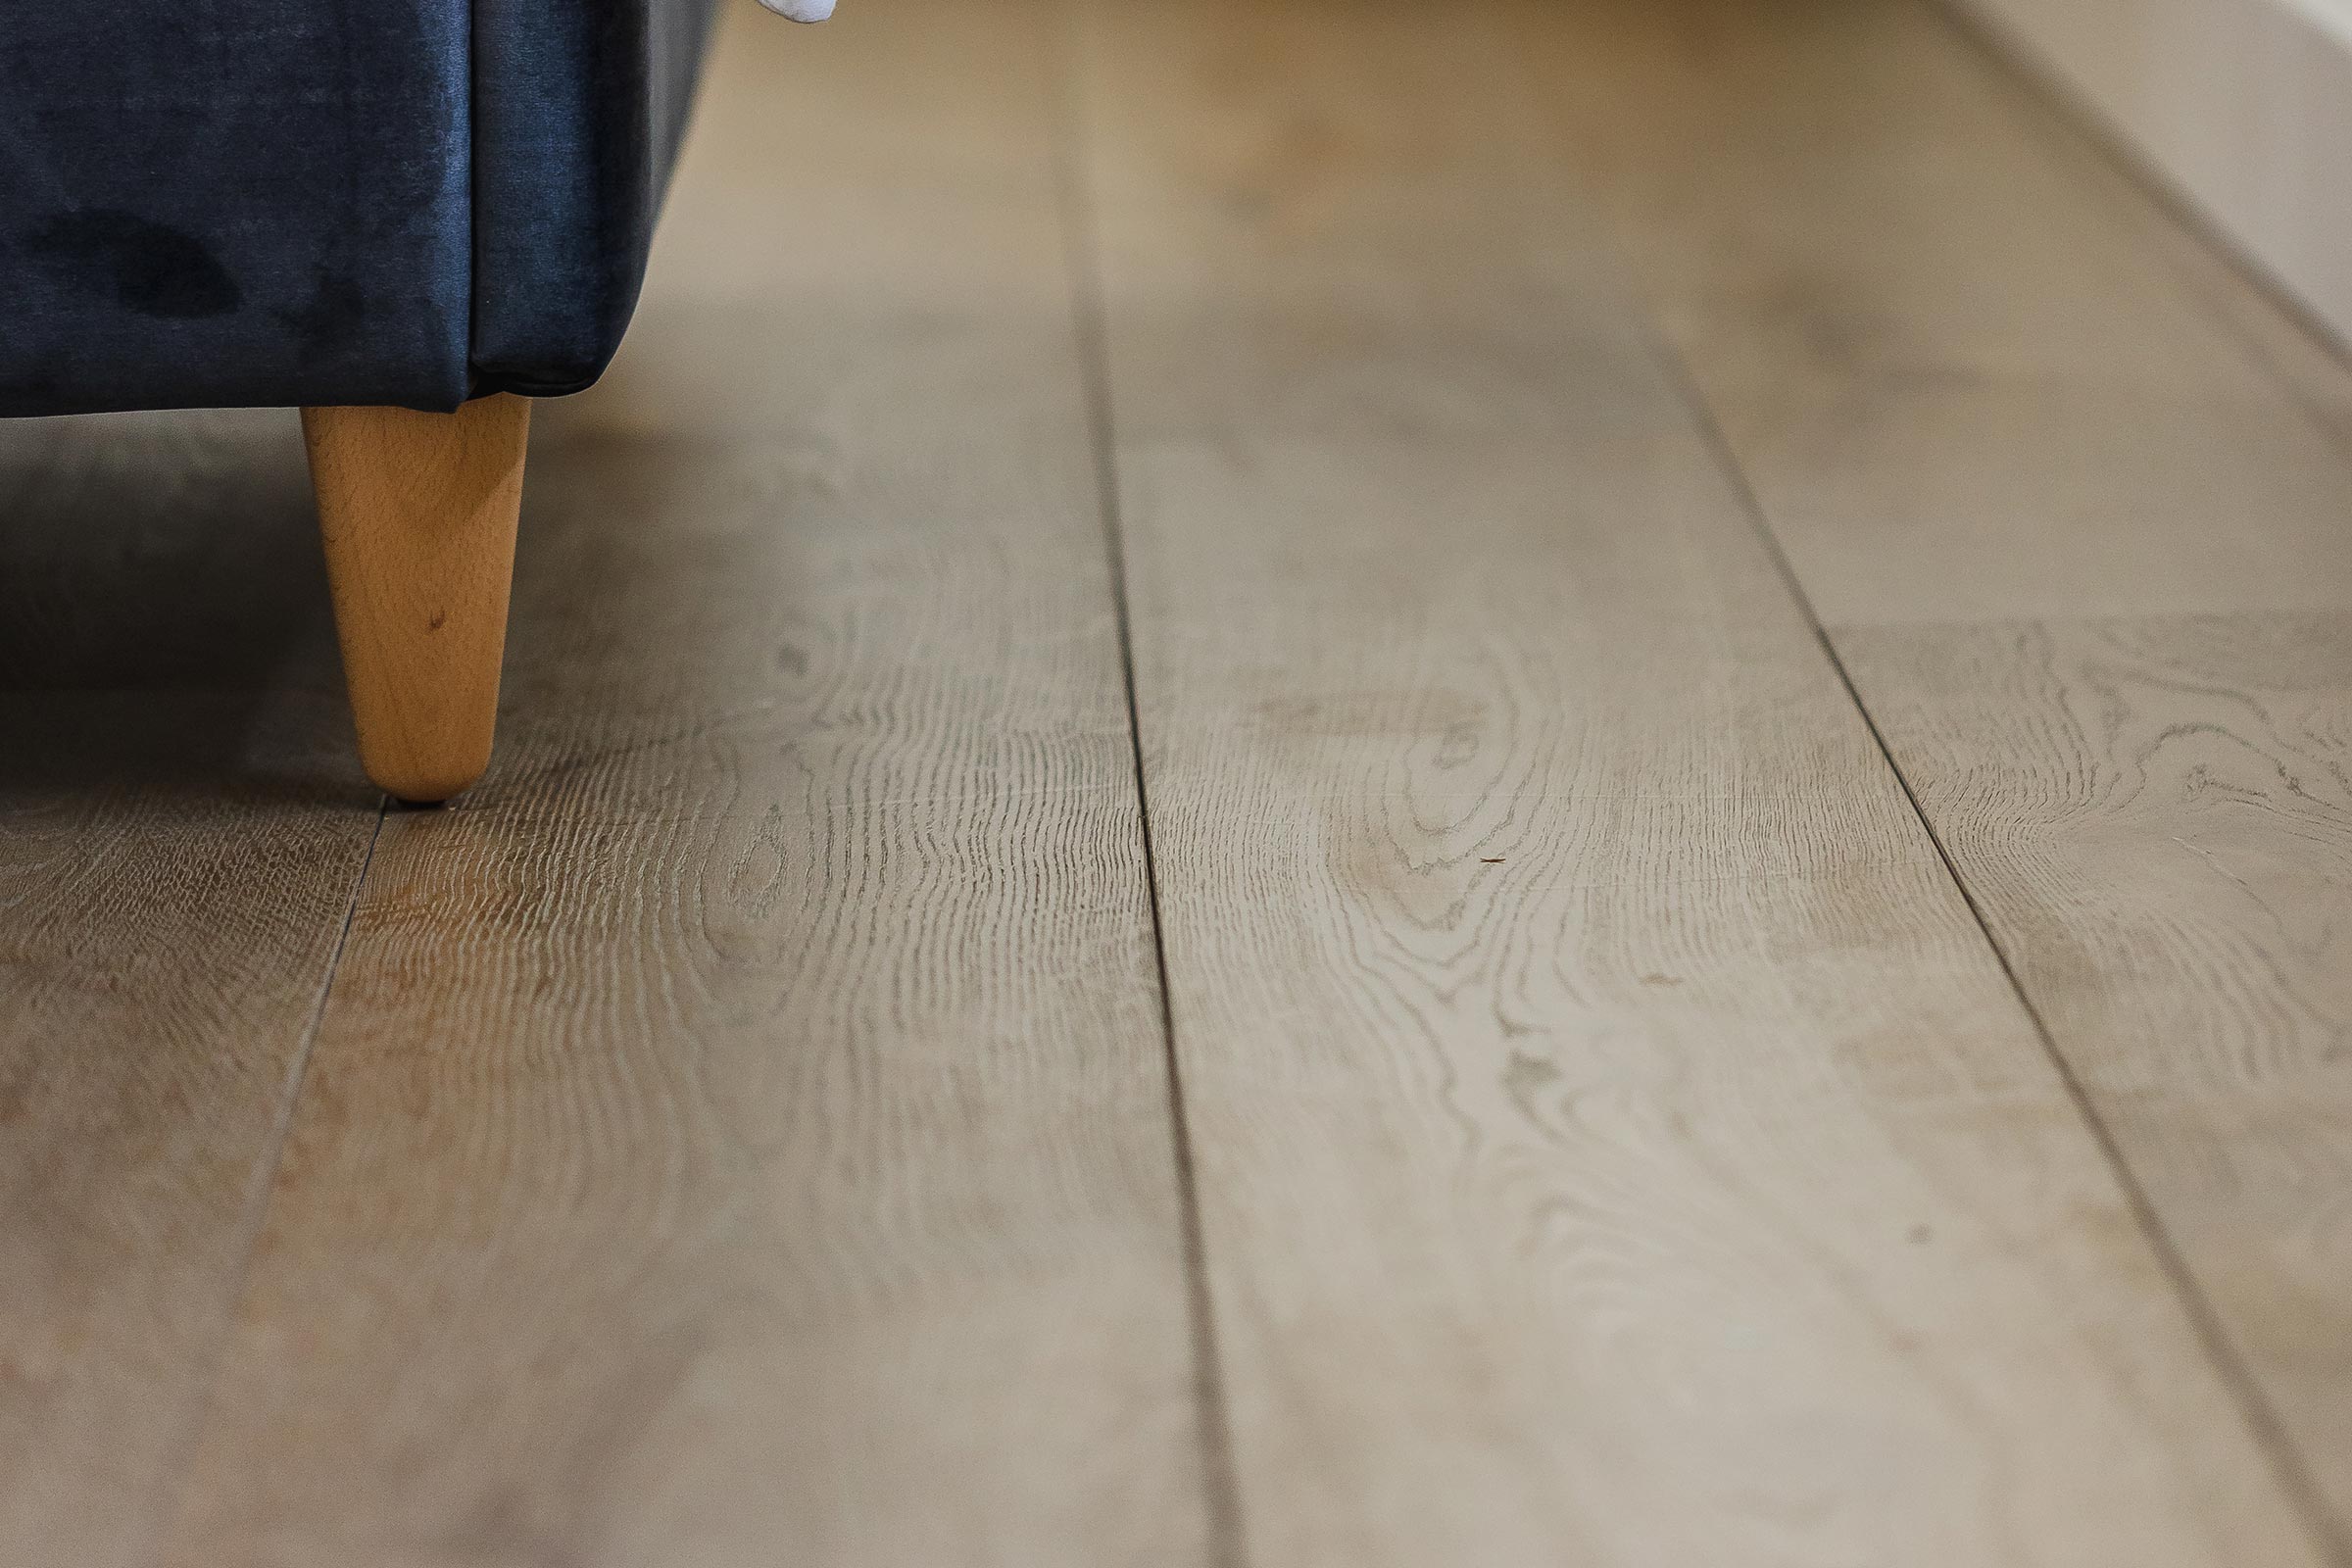
Grant Your Wood Flooring a New Lease of Life
If you are contemplating a flooring makeover, why not explore our extensive range of engineered wood floors? Each board is crafted with care and precision, complete with industry-grade finishes that accentuate and preserve the natural beauty of our hardwood. They also come with simple locking systems, which make removing old boards easy, saving you time on future refinishes.
For more advice on your V4 wood floors, feel free to contact our team or seek the advice of your V4-approved retailer.
FAQs
What type of sandpaper should I use?
Different grit levels of sandpaper are essential for a smooth finish. Start with a coarse grit, around 40–60, and gradually move to finer grits, up to 180–220, to achieve a polished surface.
How many times can my engineered wood floor be sanded and refinished?
The number of times your floor can be sanded depends on the thickness of the wear layer. Generally, a floor with a 3 mm wear layer can be sanded and refinished at least once, but always consult your provider before attempting this yourself.
Can I do the sanding myself?
Yes, sanding engineered wood flooring is a manageable DIY task if you have the right tools and follow the proper guidelines. However, if you are unsure or the area is large, it is advisable to consult a professional.
How long does the sanding process take?
The duration depends on the size of the room and the method of sanding. Manual sanding is more time-consuming but is often safer for engineered wood floors, so expect to spend several hours for an average-sized room.
Can I change the colour of my engineered wood floor by sanding it?
Yes, once the floor is sanded, you can apply a new stain. However, the type of wood will influence how the stain appears, so it is wise to test a small area first, like somewhere under a permanent piece of furniture.
What is the best way to maintain my newly refinished floor?
Regular sweeping and hoovering are essential to prevent dirt accumulation. For spills, mop them up immediately to avoid staining, but remember to only use a damp mop to avoid water absorption. Soft pads for furniture legs can also work well to minimise scratching.
What’s the difference between lacquer and oil finishes?
Lacquer provides a hard-wearing, water-resistant surface ideal for busy homes. Oil finishes penetrate the wood, offering deep protection and a natural look.
Do I need to remove the skirting boards before sanding?
It’s not always necessary, but removing skirting boards can result in a more thorough job. If you choose to leave them, take extra care to avoid inflicting damage during the sanding process.
