


We will take you on a journey of creative exploration, to discover your perfect wood floor and more…
Plan your VisitCan You Float An Engineered Wood Floor
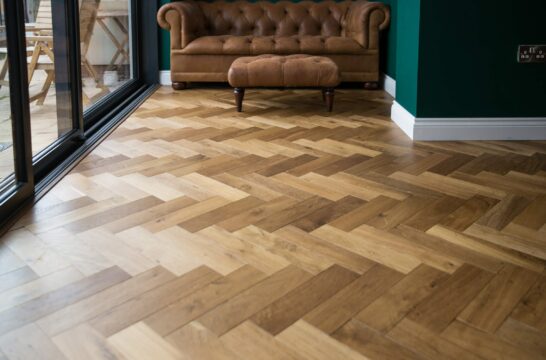
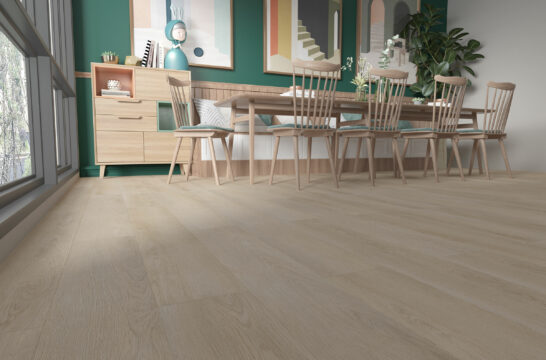
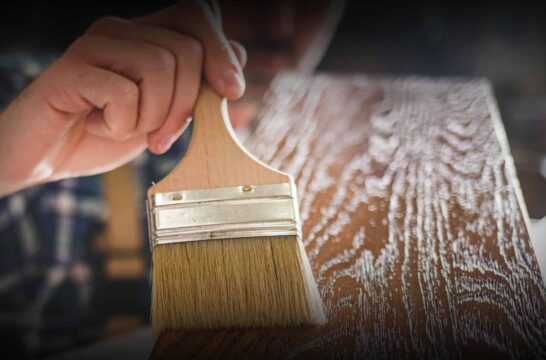
This is a very common question we get asked when new customers are looking to install our engineered wood floors in their homes, and the simple answer is yes. But it can be a more complex issue than that, and when planning any DIY project or home improvement it is important to understand every aspect and prepare yourself accordingly. In this article, we’ll explore the pros and cons of ‘floating’ your engineered wood flooring, how this can be achieved, and touch on the other installation options available to you when you buy. 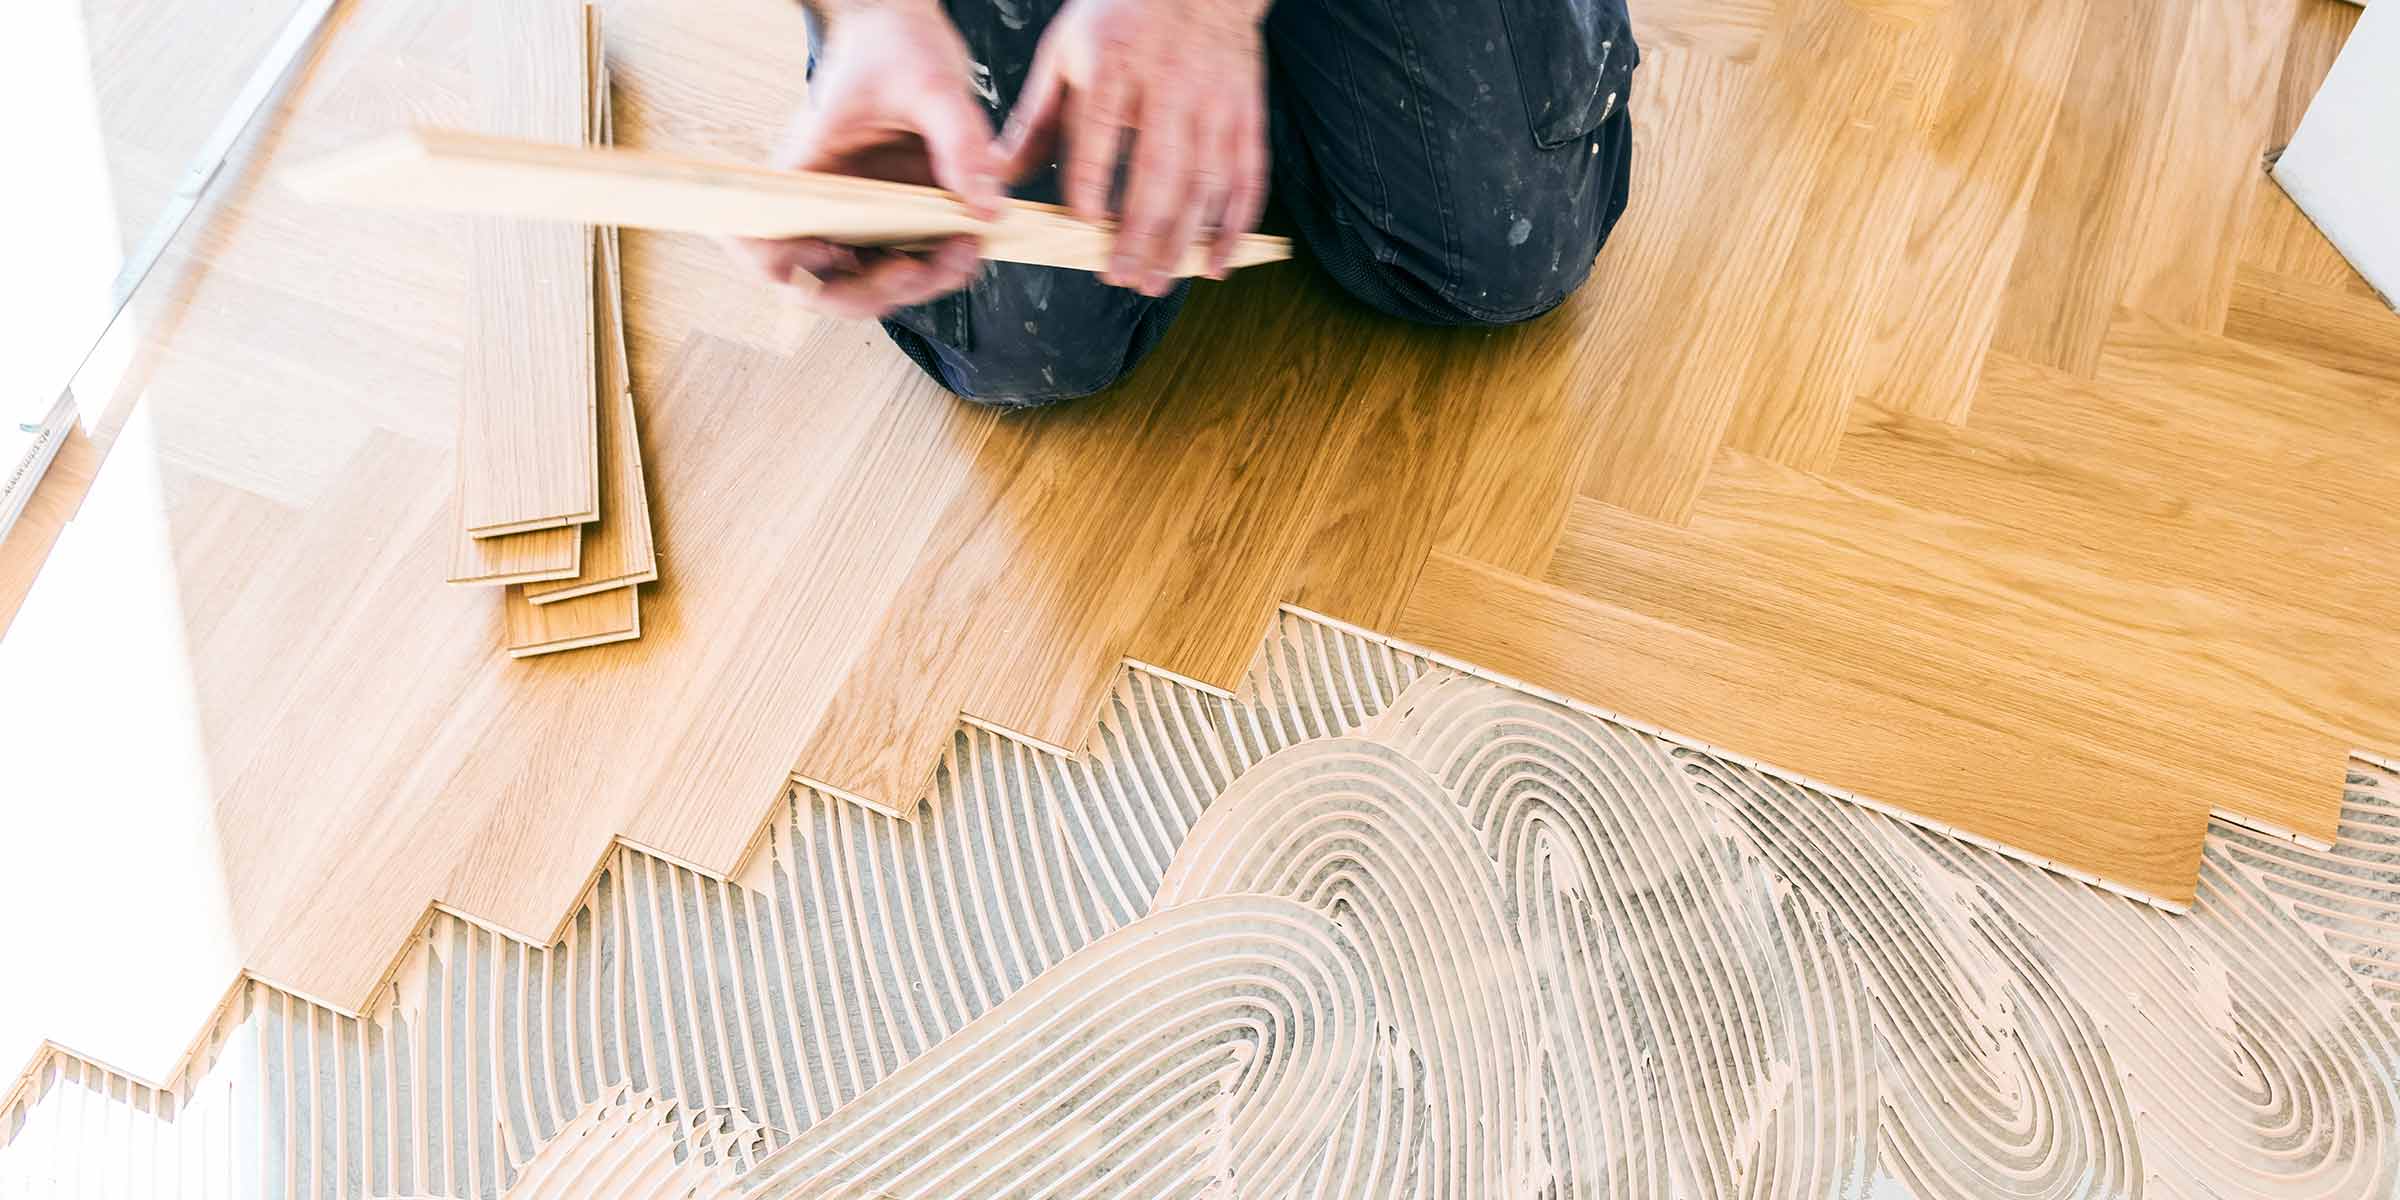
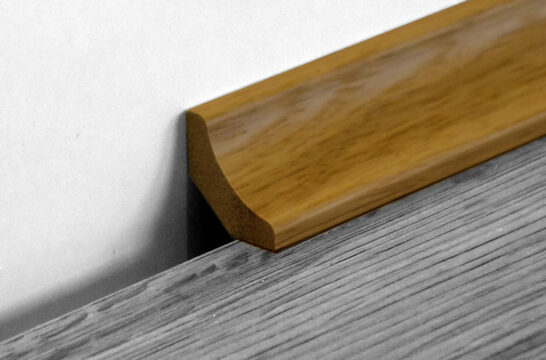
What is a Floating Engineered Wood Floor?
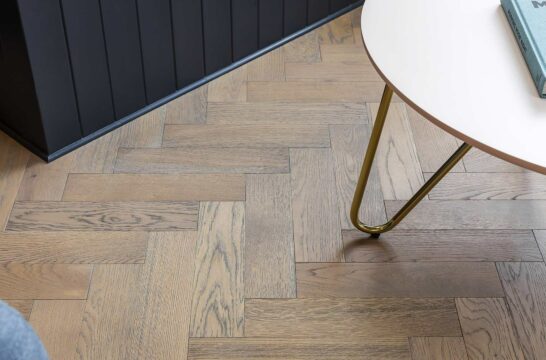
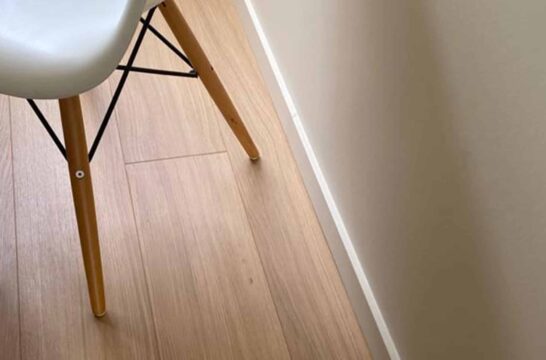
A ‘floating’ floor is one that has been installed over a subfloor without any bonding agent. In order to float engineered wood floors, they need to have tongue and groove fittings or a locking system that allows the boards to be fitted securely together. This means that the floor forms one large section that is held down by its weight alone, as opposed to adhesives or cleat nails.
Pros and Cons of Floating Engineered Wood Floors
Floating your floors is only a viable option for engineered wood flooring, as it is designed to withstand the pressure of movement and is generally more flexible than solid wood. But when deciding between installation options, it is vital to consider every benefit and drawback.
| PROS of Floating Floors | CONS of Floating Floors |
| Easy to Install | Amplified Sound |
| Floating your engineered wood flooring is a simple process, especially using the intuitive tongue and groove fittings. As a result, the method is much more accessible to DIYers looking to tackle it by themselves. | Due to the slight space under the floating floors, they can often be noisier to walk on than glued or nailed floors. However, this can be easily solved with thicker underlayment. |
| Easy to Replace | Replaced More Frequently |
| Floating floors are much easier to replace than other flooring types, especially those that have been glued. So. whether you are replacing individual boards due to damage, or the entire floor, they are as simple to lift as they are to lay. | Some floating floors may need to be replaced more often than other kinds, especially if under immense pressure, such as constant footfall or heavy fu iture. But this is more an issue with how the floor has been floated, and can be easily solved with high-quality underlayment. |
| Resistance to High Temperatures | Less Resistance to Humidity |
| Floating floors have the upper hand when it comes to temperature shifts, be they related to the inte al/exte al climate or underfloor heating. With no glue, that is prone to melting or softening, floating floors are the best choice here. | Where they are extremely well-equipped to deal with high temperatures, floating floors can run into trouble with moisture. Droplets can gather under the boards and cause decay and mould. This can be solved by correct installation practices and compatible underlayment. |
| Much Cheaper | Not as Sturdy |
| Floating floors are much more economical than other types of flooring, thanks to the simplicity of their installation. They can be installed professionally, but handy homeowners can do this themselves, thus saving even more money. | Some floating floors are prone to rattling and sliding, which can affect their overall sturdiness. But this is always an issue with how the floor was floated, and the quality of the underlayment. If you are worried about installing them yourself and running into trouble, you can always rely on a specialist. |
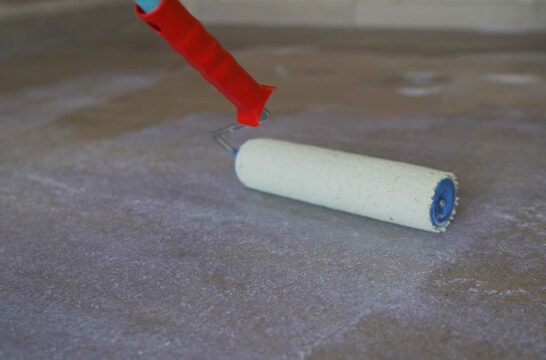
How to Install Floating Engineered Wood Flooring
If you are preparing for the installation of new engineered wood floors, we have gathered a list of the essential tools and best practices when it comes to floating them. If you have any questions or conce s, you can get in touch with our team. Or, if you would prefer to have your floors floated professionally, you can contact your approved V4 retailer, who should be able to find you a local installer.
The Tools
Before you start, you should make sure you have all the tools you need. This list is not comprehensive, and you may need additional tools, but offers a general overview. Double-check your tool supply for a:
- Fine-tooth wood blade
- Flush-cut dovetail saw
- Coping saw
- Power jigsaw
- Circular saw
- Miter saw
- Duct tape
- Utility knife
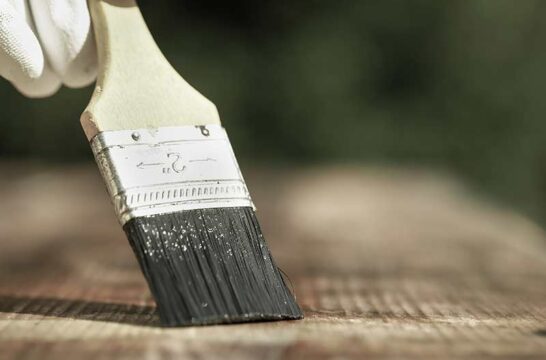
- PVA wood glue
- Tape measure
- Painter’s tape
- Hammer
- Pry bar
The Process (8 Steps)
- Trim your door casings: With your flush-cut dovetail saw, cut a section from the bottom of your door casings. Combine a piece of underlayment and engineered wood board and lay your saw on top. This can help you to trim the right amount from the casing and maintain a level line.
- Lay your foam underlayment: Hoover the entire space and then unroll your foam underlayment. You will only need one layer, and be sure to cover the whole room. Trim the edges to fit under the skirting and door casings using a utility knife, and then seal any seams using duct tape.
- Install the first plank: Set down one plank, with the grooved edge pressed into the co er with a spacer block and the tongue facing out.
- Continue with the rest: With the first course set, you can move on to the second, and repeat the process across the room, trimming your planks to size where necessary. You should use specially designed PVA wood glue between each board to make sure it is fitted securely. You can use painter’s tape to keep the boards pressed while the glue dries.
- Prep for the last course: When you reach the final course, it is likely that the space will be smaller than one plank. This means that you will need to measure the space, keeping in mind that planks that run across doorways will need to be cut with notches.
- Cut the final plank to size: With your measurements marked, carefully cut your plank with a jigsaw. To prep the edges to fit under a doorway, you can use a fine-tooth wood blade for a controlled and precise cut.
- Pry in the final course: This is where your flat prybar will come in handy, which will help you to install the final planks along the edge of the room. You can also use your hammer to get it in tight. From here, let the remaining wood glue cure for at least twelve hours. After this, you should be able to remove all your painter’s tape and remaining spacers.
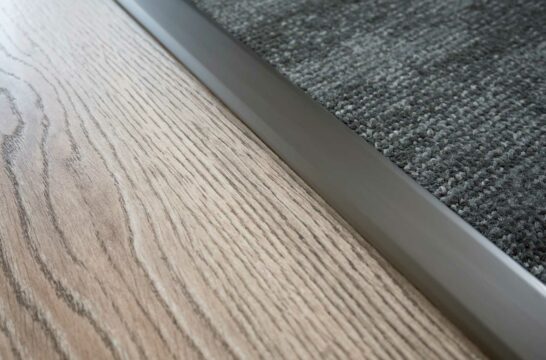
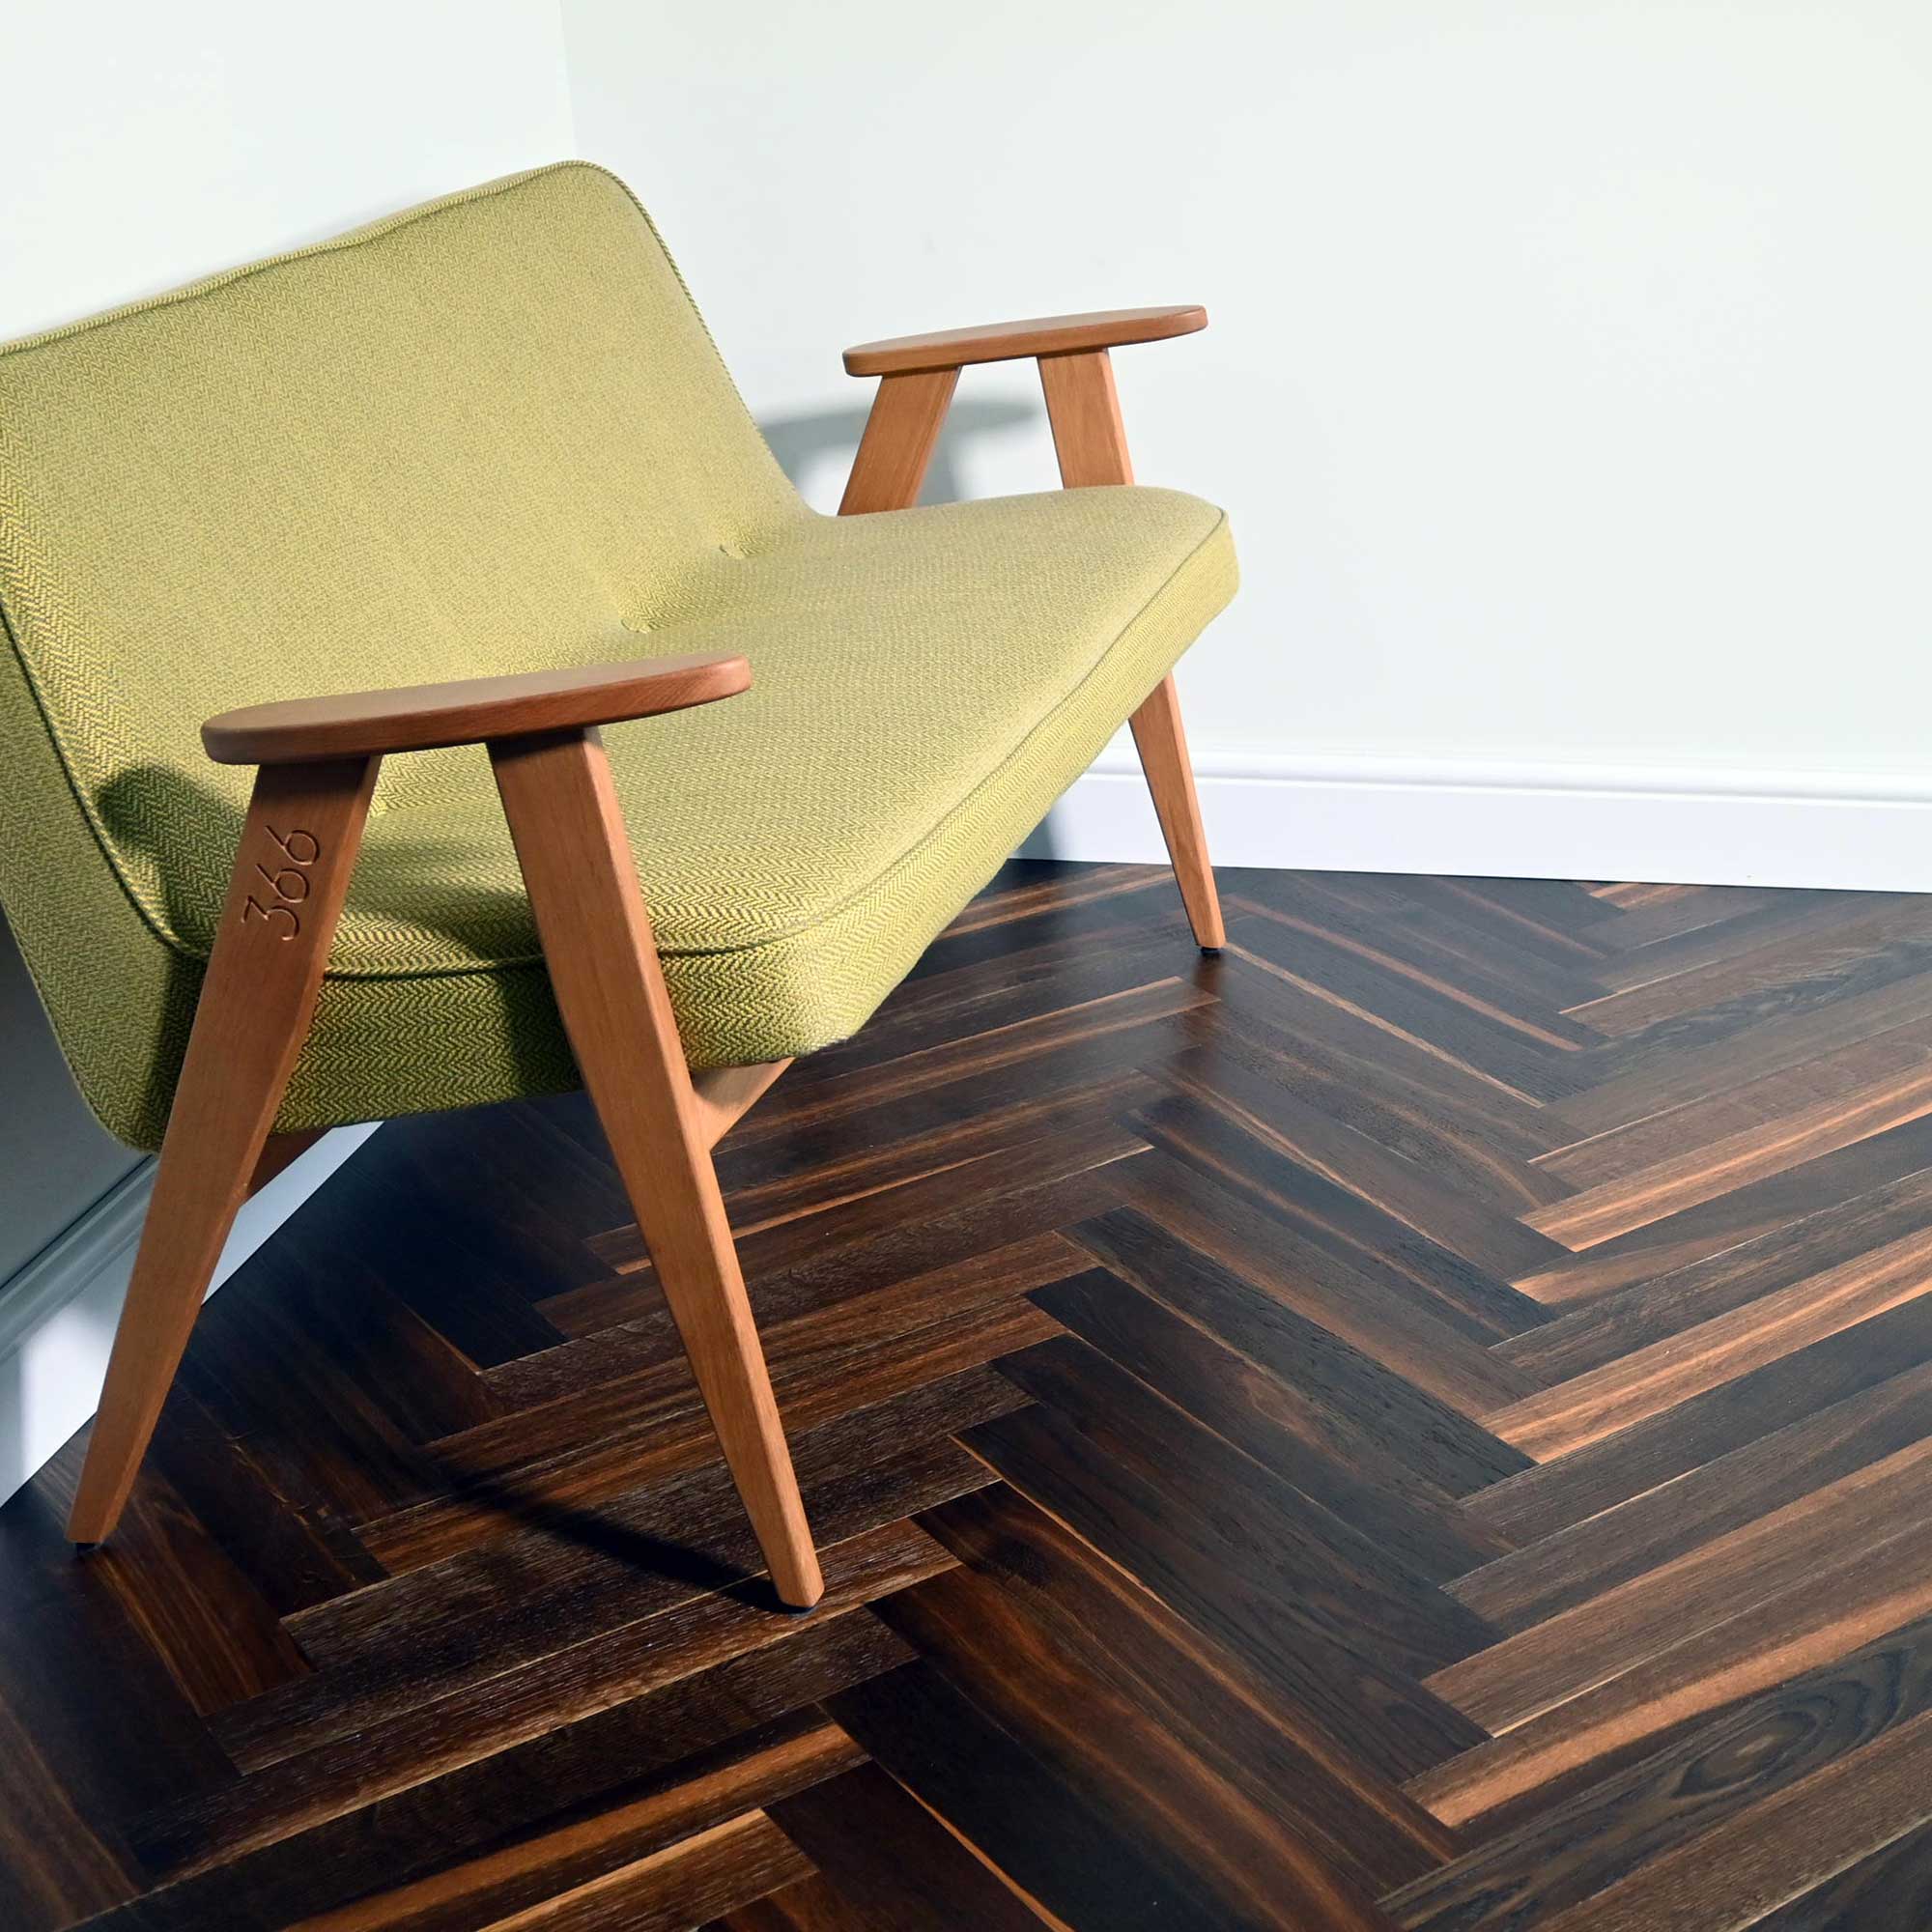
- Add your trim to finish: With your floor lain and dry, you can install fresh transition moulding between your doorjambs, and shoe moulding around the perimeter of the room. Separate pieces can be joined using a scarf joint, and co er pieces should utilise a coped joint.
Alte ative Installation Methods
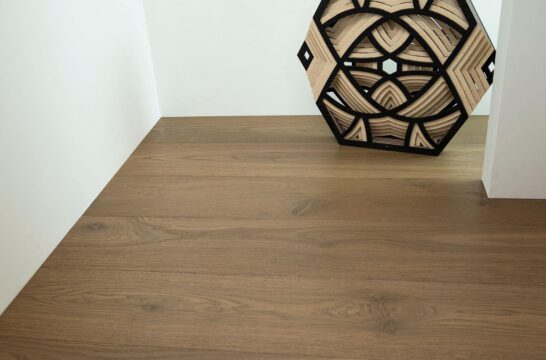
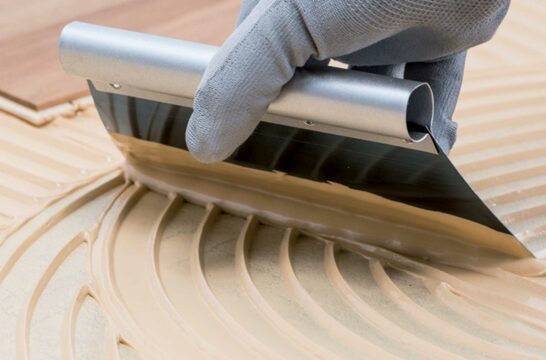
Engineered wood floors can be installed in several different ways, with floating being one of the most popular. Tongue and groove-engineered planks can be nailed directly into timber subflooring with a floor nailer, or glued onto concrete or underlay.
Which Installation Method Should You Choose?
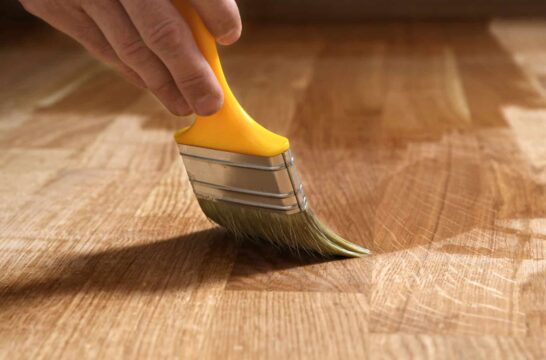
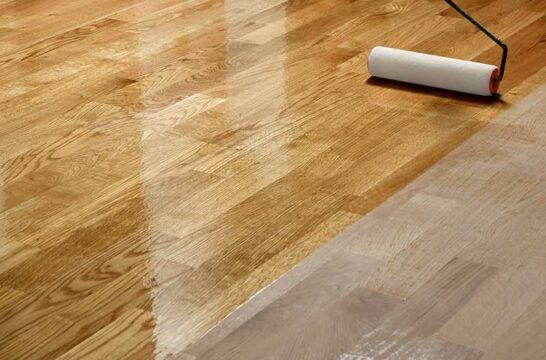
All methods have their pros and cons, and it is up to you to decide which will suit your needs best. Our range of engineered wood flooring is designed to work best when floated over an underlay or fully bonded to the subfloor, using flooring adhesive. No matter which installation method you choose, our engineered wood flooring is expertly crafted with sturdiness and aesthetics in mind, meaning each board fits together seamlessly and, whether glued or floated, will produce a consistent and high-quality finish every time.
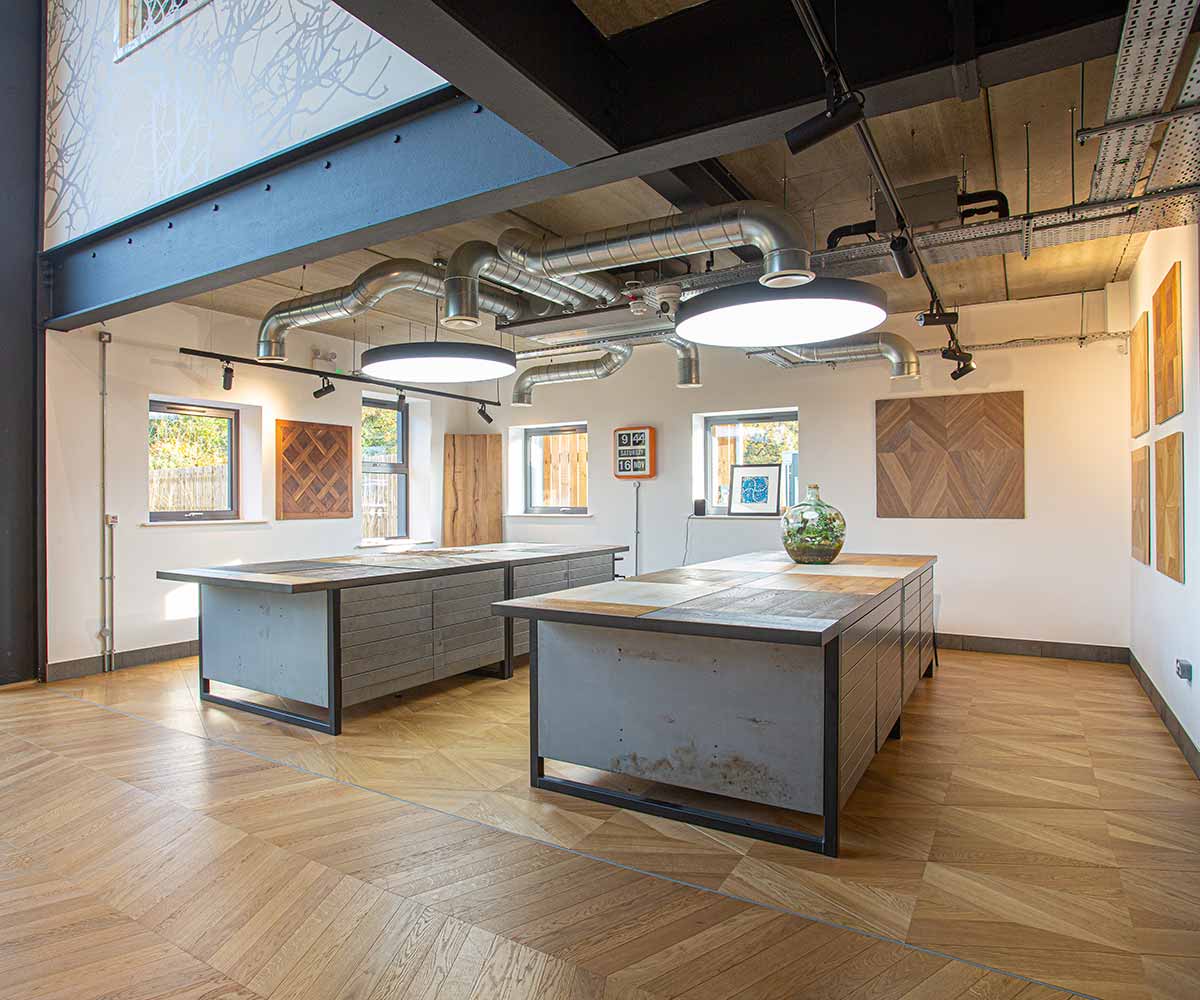
Find your local retailer
Here you can see large format samples and get expert advice from flooring experts who will sell and install your chosen floor
